As regular readers know, I’ve spent the past few months building models of railway equipment that ran on the Great Western Railway in the Edwardian era. Almost all of these models have started as photo-etched brass kits from Walsall Model Industries – and some examples of my work can be found here.
The kits do not come with wheelsets but do specify what type of wheels are required. So far, I’ve needed one of two types of wheelsets, and both are readily available from Slaters Plastikard.
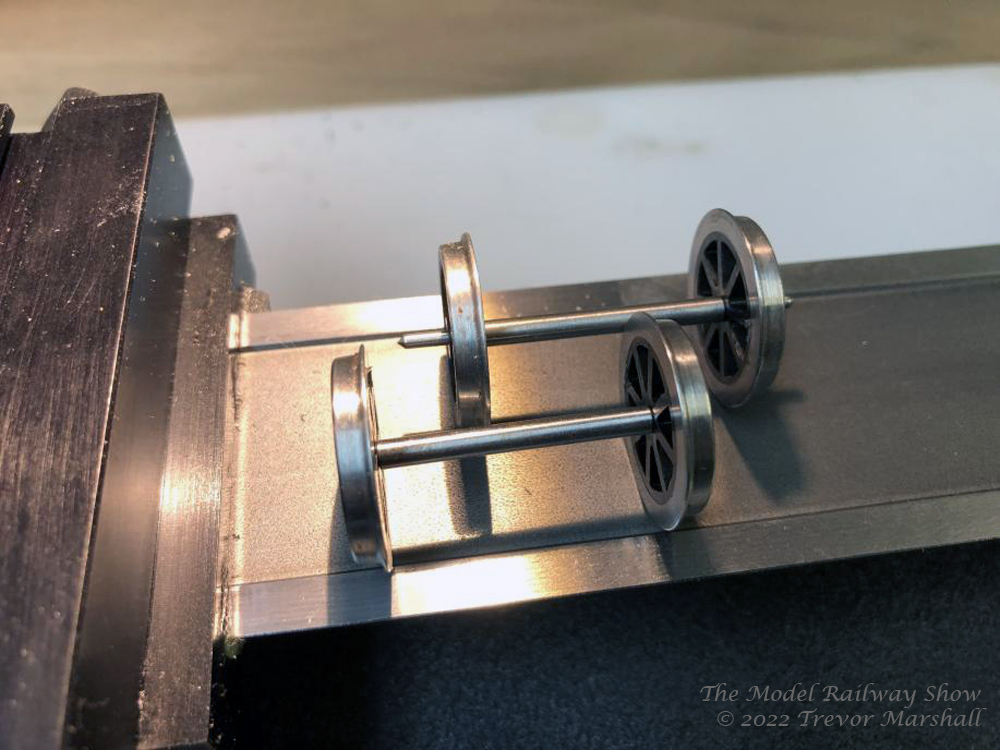
The Slaters wheels are excellent, but designed to fit into outside bearings on Slaters own kits. The Walsall kits have inside axle bearings – between the wheels, not to the outside of them. For these kits, I need to shorten the Slaters axles. Basically, I need to remove the thinner part of the axle that extends beyond the front face of the wheel so it doesn’t get hung up in the frames of the kit.
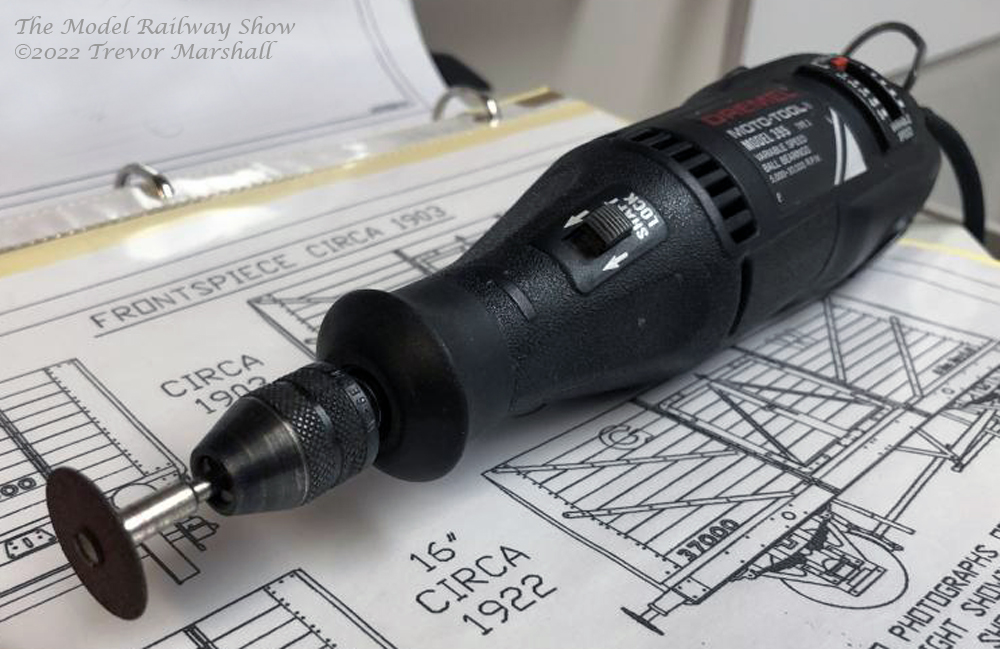
To do this, I’ve been using the low-tech approach: I’ve pulled the wheels from the axle (which I needed to do anyway to mount them on the wagon). I then clamped the axle in a vise and trimmed the axle ends using a cutoff disc in a motor tool. Since the axles are shouldered, I don’t have to worry about re-gauging the wheels: I just push them back onto the axles until the inside face of the wheels hit the shoulder, and they’re in gauge.
This approach has worked, but it’s imprecise. What’s more, the discs are fragile and can snap, which is why one always wears safety glasses when using a power tool!
I had finished 14 cars – trimming 56 axle ends (two per axle, two axles per car) – when I finally started to wonder if there wasn’t a better way. And of course there is: It’s on the countertop behind my workbench:

Yep – a parting tool in a lathe sure would make this task easier, better, and safer. And wait: I have a parting tool – and a lathe!


To be fair, finding the parting tool took half a day of digging through as-yet-unpacked boxes from our cross-country move in 2020. But once I had it to hand, it was straightforward to set up the lathe and trim the axles down to size. I did four axles in half the time, with better results, less mess, and a lot less stress. Next time I have a repetitive task to do, I’m going to think about how my lathe or mill might help me make things better.
The downside? I only have two more of these Walsall kits to build, so I figured this out too late to really do me much good. Unless, of course, I buy more kits…
