Over the past week or so I’ve picked away at ties for my Southern Pacific layout – and since I’m working in Proto:48, I tried as much as possible to follow SP practices.
Southern Pacific modellers are fortunate to have access to excellent resources about the prototype. I don’t know if there’s another North American railroad that’s so well documented.
Amongst my reference materials, I have a series of books of SP common standard plans, published years ago by the Southern Pacific Historical & Technical Society. The books include drawings of SP Number 7 and Number 9 turnouts. I used these drawings to design the layout, and to build tie jigs to ensure proper spacing between the timbers.
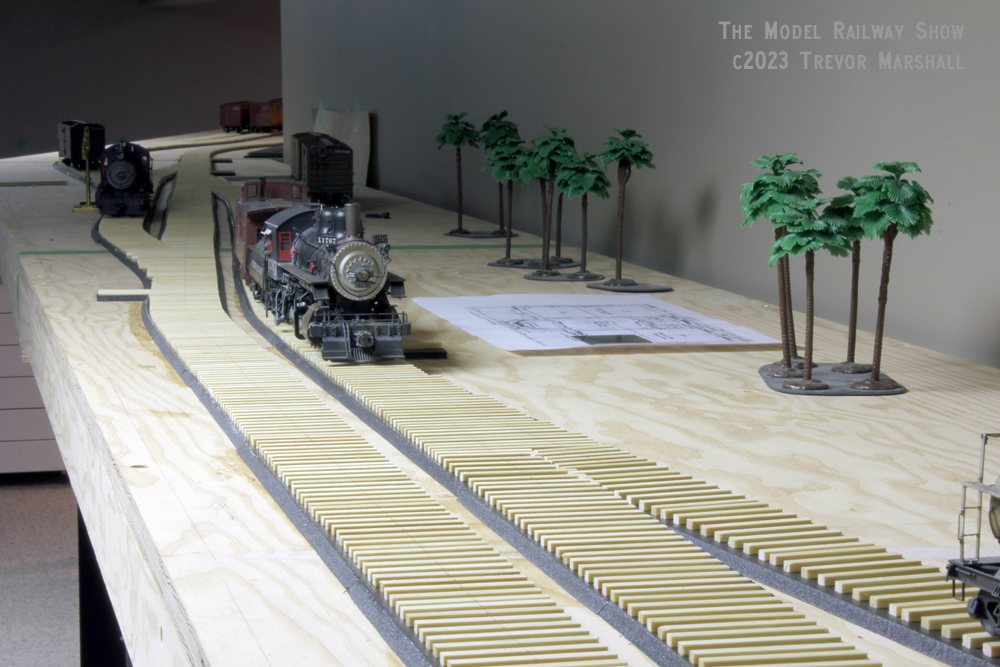
Meantime, I obtained a diagram of SP tie arrangements under three classes of track from another modeller who works in Proto:48. I used this diagram to build tie jigs for main track, branch/secondary track, and spur/yard track.
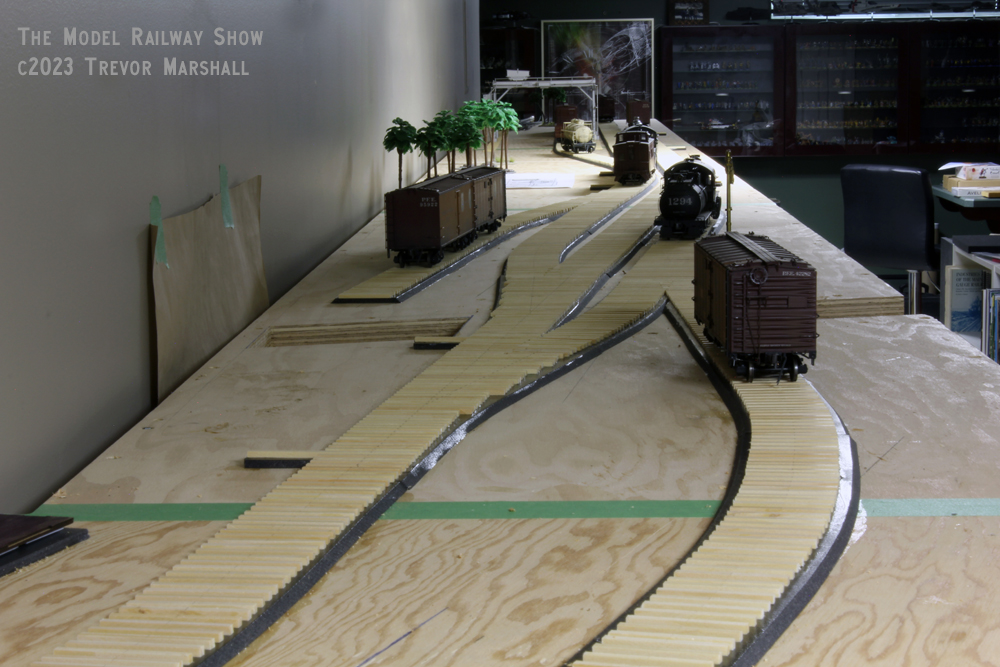
One neat detail is the SP tightened up the spacing of ties under the joint bars that connect lengths of rail, and I was able to duplicate this with my custom jigs. Also, spur/yard tracks used eight-foot ties while the other classes of track used nine-foot ties. All of this will contribute visual interest to this layout – and given that the track is at my shoulder height these subtle differences will be easy to appreciate.
For this layout, I bought Mt Albert Scale Lumber nine-foot cross ties and 16-foot turnout ties. I cuts the eight-foot cross ties – and the various lengths of turnout ties – using my saw with sliding table from Byrnes Model Machines. This was my first serious use of the table saw since acquiring it earlier this year and it made short, precise work of an otherwise tedious job.
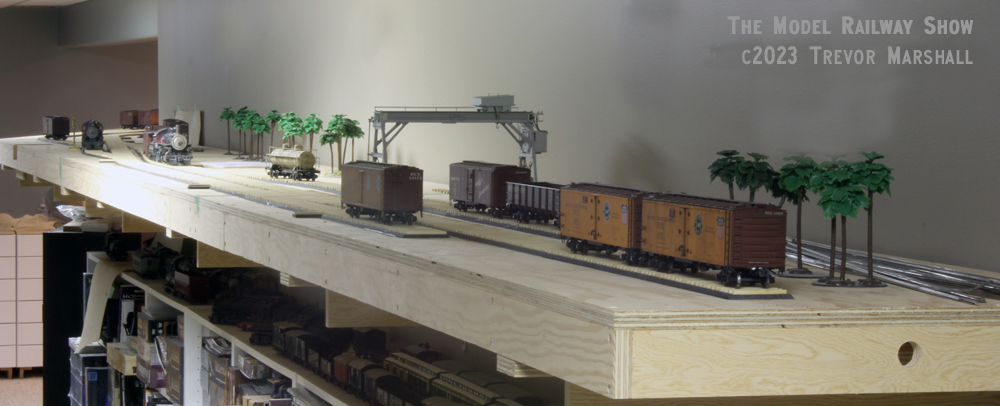
While I laid the ties for the railroad, I also put down short ties for the gantry crane over the team track. These I cut by hand with a razor blade-style cutter, because they were too short to cut safely on the saw. Fortunately, I didn’t need too many.
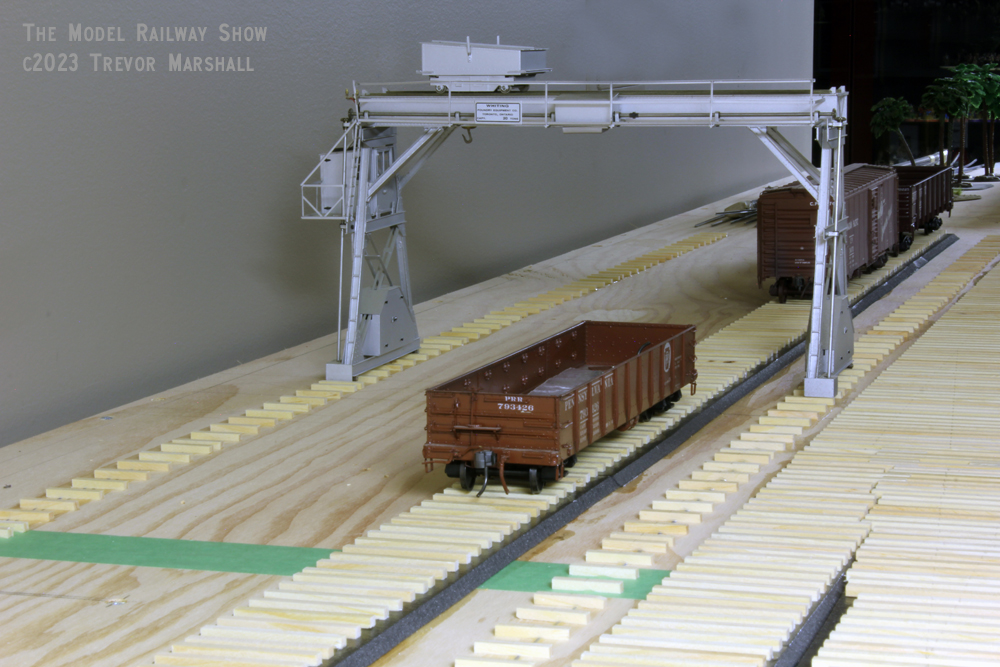
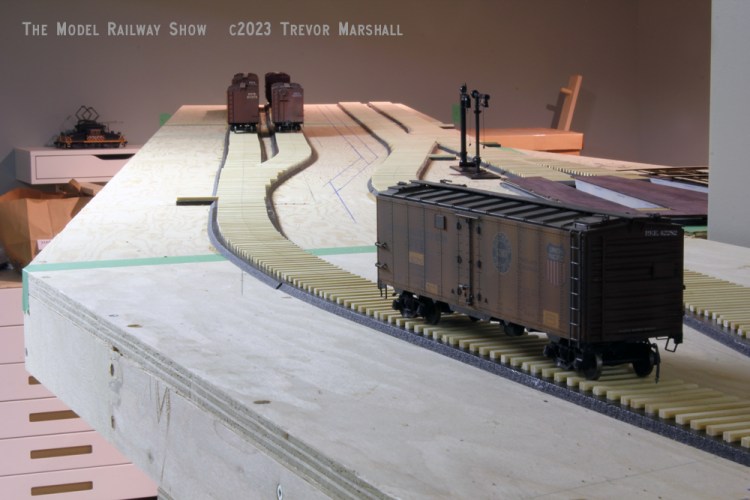
The ties are glued, but there’s still a lot to do before I start adding rail. I’ll distress and stain the ties, then ballast. Then, I can start putting down the iron. I’m glad this is a modest layout, because even so it’s going to be a while before I can run a train!
