With the ties in place, distressed, and stained, I borrowed a game mechanic from the Modiphius 2d20 system* and spent a point of momentum to push on with the track for my Southern Pacific layout.
This is my first foray into building a Proto:48 layout and I was keen start learning, first hand, about creating finescale track. I started in the deep end, building the Number 7 turnout off the main track that serves the team track.
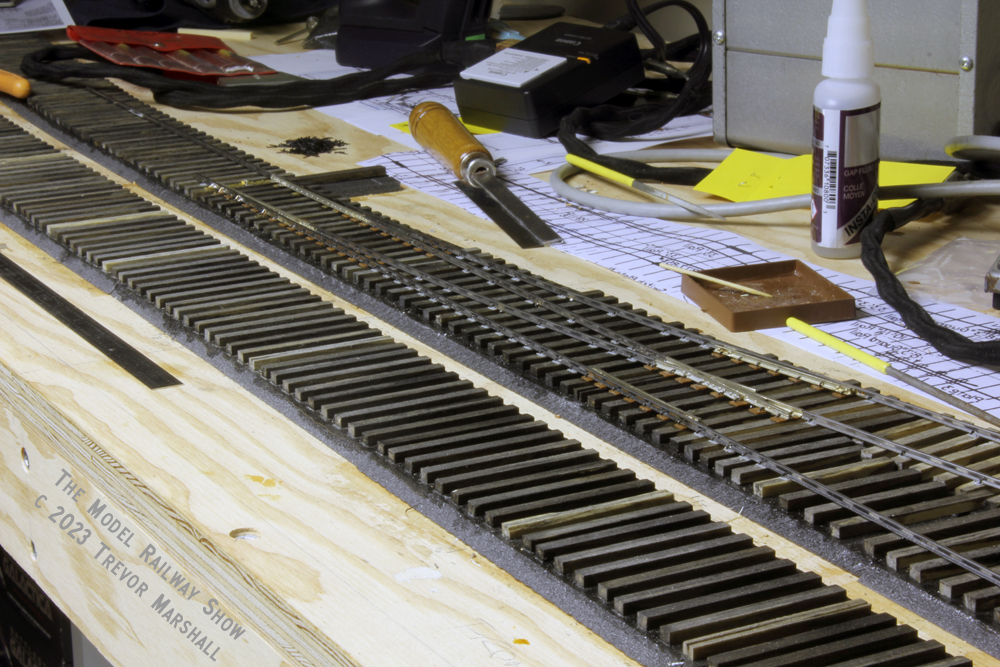
Wow: Are there ever a lot of tie plates!
The tie plates – along with the joint bars, rail braces, gauge plates, and other details involved – are time consuming to include. But they definitely elevate the result into the realm of “model of a railway”.
I’ve hand laid a lot of track and can build a turnout using a Fast Tracks fixture in about a half-hour. By contrast, I’ve been working on this turnout for several hours – and I’m still nowhere near done. At first glance, the turnout appears substantially complete: The frog, points, and guard rails are in place, as are all but one rail. But I would guess I’m only about one-third of the way there.
It’s all those tie plates and spikes. They take time. That’s okay: It’s a hobby, not a race – and I’m enjoying the process.
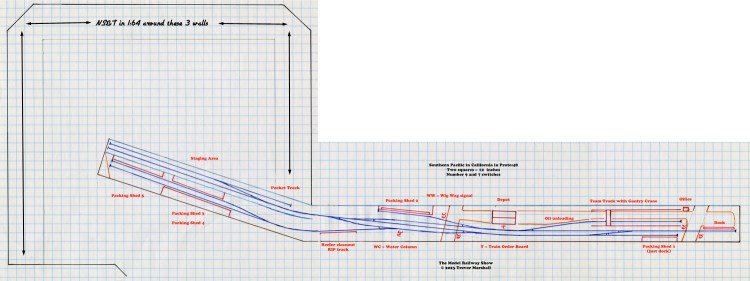
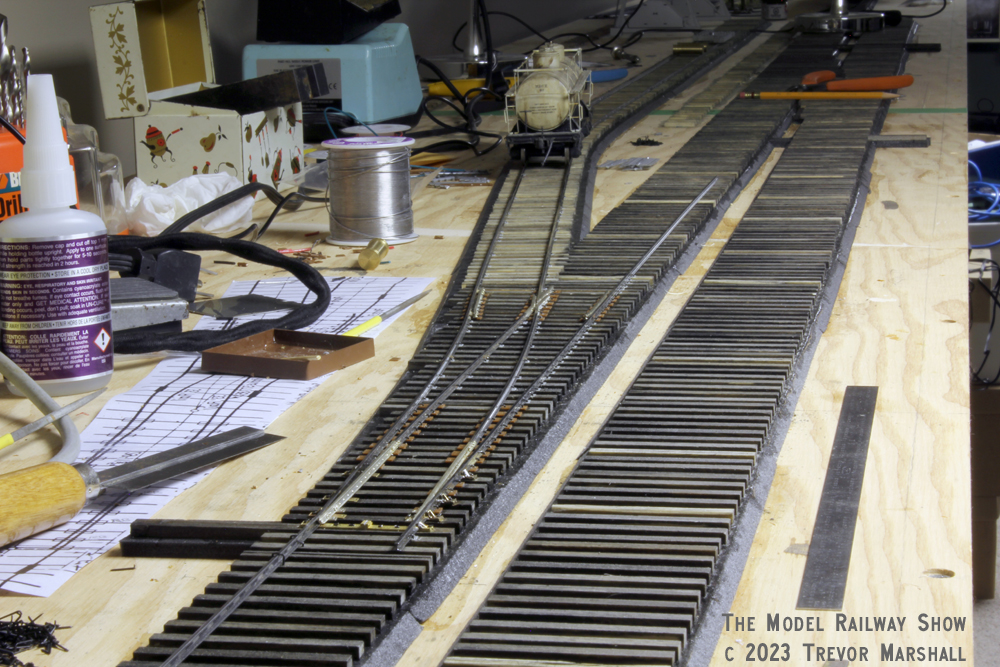
I’m pretty sure this is the smoothest piece of track I’ve ever built: A Proto:48 freight car positively glides through the turnout with no dipping, bouncing, or pinching of the wheels. I’m using a brass model of a frameless tank car as my test piece, because the wheels are quite exposed – so they’re easy to monitor as I push it through the turnout.
I chose this particular turnout as the place to start for several reasons.
First, it’s on the track farthest from the front of the layout. My plan is to build from the back of the layout, forward, so I don’t have to lean on already-finished track as I work.
Second, it feeds a long spur – the team track. If my track-laying turned out to be less than perfect, that would be acceptable on a spur, whereas it would not look right on better maintained tracks. (As it turns out, my track-laying is in fact good enough for a branch or industrial switching district, which is what I’m building.)
Third, I’m wiring as I go and this will give me an opportunity to run something back and forth once I get enough of the rail spiked down to keep it in gauge. The team track is roughly eight feet long from the frog of the turnout to end of track. That’s plenty for testing locomotives, for example.
My strategy for laying the rail on this layout is simple: Do it until I grow tire of it, then do something else for a while – like work on the next project for my Niagara St. Catharines & Toronto Railway layout.
That said, I don’t foresee growing tired of this anytime soon. I’ve figured out what set of tools to use – including some lovely bespoke roller gauges to keep the track in gauge as I spike – and I’ve sorted out the order in which I want to tackle the various parts of a turnout. I’m looking forward to running my first locomotive on this spur, then tackling the next section of track.
Unlike the tag line for a popular hobby publication, I would not call this aspect of railway modelling “fun”. Rather, it’s “satisfying” – which is, to my mind, a better outcome.
(*The 2d20 reference: If you play roleplaying games, you’ll understand. If not, Google is your friend…)
