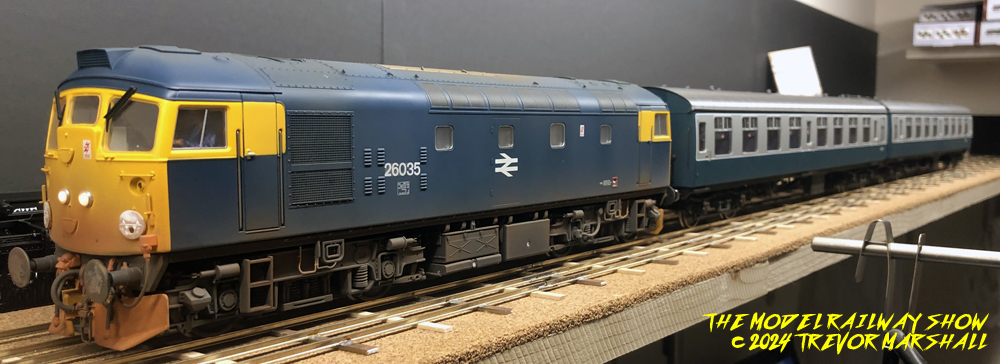
I like investing a little bit of time each day in the workshop – even if it’s only 15 minutes. A couple of recent projects for my British Rail fleet gave me a break from work-related matters while advancing some models towards completion. In a previous post, I described adding locomotive crews to enhance the appearance. Here’s a neat little upgrade that enhances operation.
I have a couple of Heljan 7mm passenger cars and they’re great, but Heljan’s factory-fitted couplers are a bit of a bodge. The cars come with a knuckle coupler – like a Kadee – meant to make it easier to couple and uncouple,. But they’re set lower than the prototype: Instead of being centred in the buffer beams, they just out underneath. It works but looks wrong.
The buffers have a hook so the coaches may be connected to a locomotive fitted with screw link couplings – but the hook is so far under the diaphragms that it’s almost impossible to couple up. This isn’t such a big deal on a layout designed to support fixed consists. But any 7mm layout I run these on will be a branch line terminal design – which will require the locomotive to run around the consist before departing the station.
To address these two issues, I acquired a package of Drophead Buckeye couplings from Ellis Clark Trains:

These are a slick piece of kit: The heads work, just like on the prototype:
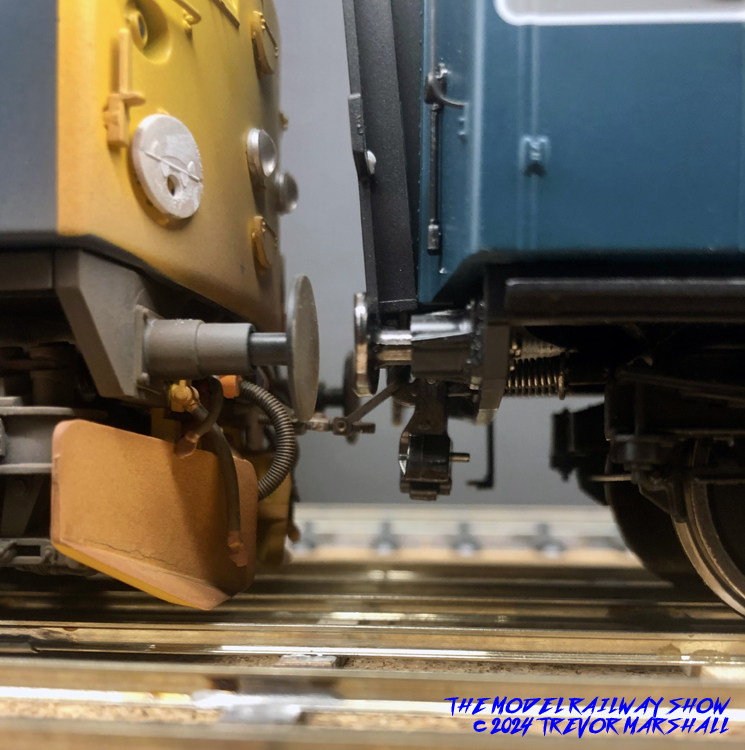

Fitting the couplers to the Heljan coaches was straightforward: I cut away the factory-provided couplers, pulled the hook out of the buffer beam, opened up the hole slightly to receive the shank of the new coupling, then slid it into place. I added the washers, spring, and clip to keep everything together. Each end of the car took about five minutes once I’d done the first one.
The manufacturer also has a well-produced video on its website, showing how to install these on various models.
Nicely done, Ellis Clark Trains!
