Here’s the current reason for my messy workbench…
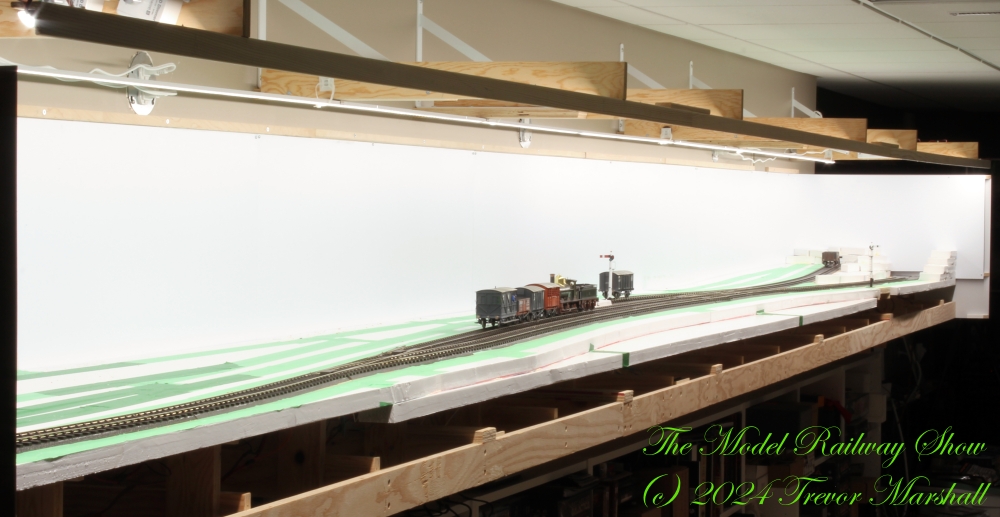
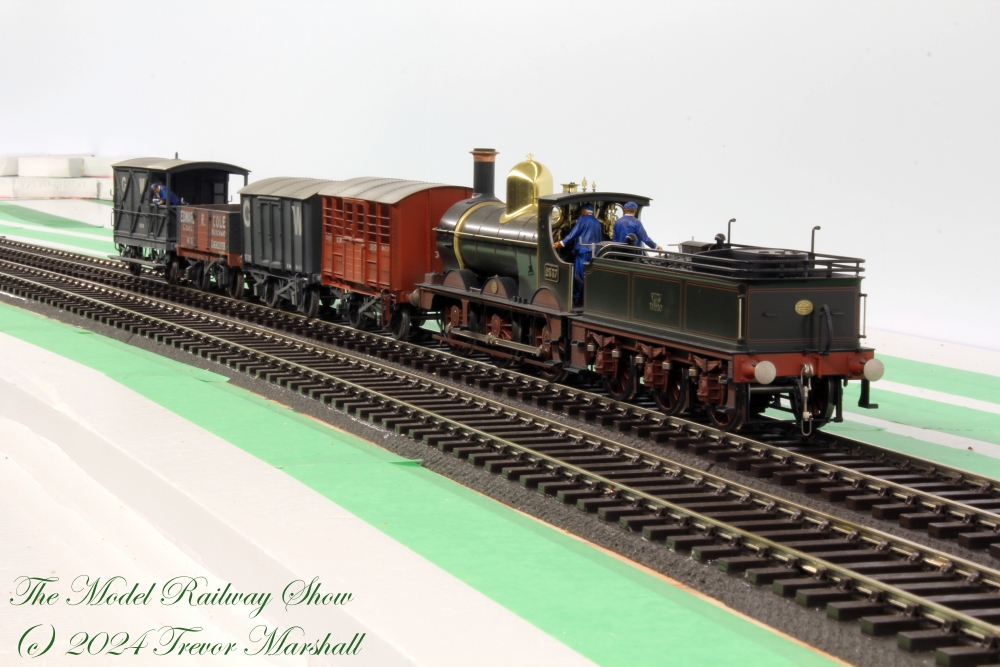
I’ve taken advantage of a lull in work over the past week or so to really crack on with my 7mm layout, depicting an Edwardian Era branch line of the Great Western Railway – and as the above photo makes clear, I’ve made huge progress.
I was keen to fill in the gaps around the plywood subroadbed, so that derailed trains would not tumble to the floor. This first required fitting a backdrop, so I screwed supports to the wall studs and mounted large sheets of 0.060″ thick styrene to them. The corners are curved so there are no unsightly bends.
With the backdrop in place, I cut 3″ wide strips of 1″ thick rigid foam board to fit around the subroadbed, then built out from there with more foam board. An embankment at the front will provide some visual interest while making it easier to reach into the scene to work the three-link couplings. I’ve also built up layers of foam board to suggest some rise to the land in the two corners and across the main track. I will use a cut topped with either trees or the time-honoured road overpass to disguise the main track’s exit from the scene to staging. I will eventually shape the foam board layers before applying paint and ground cover.
I also mounted the layout lighting. I wanted this installed early in the process, as its intensity and colour temperature will influence the colours I use for scenery.

For the lighting, I adapted the system I used for my workshop test track: I screwed inverted shelf brackets to the wall studs, added L-shaped arms to extend each bracket’s reach, and fitted LED tape lights with diffusers.
For this 2’x24′ layout, I used two runs of 120 LEDs/meter about 4″ in front of the front edge of the layout. And because I’ve been reading about layout presentation – particularly the writings of the late Iain Rice – I enhanced this with two runs of 60 LEDs/meter about 6″ ahead of the backdrop to act as fill lights and wash out any shadows on the backdrop sky.
All four circuits are on dimmers so I can adjust the intensity and fore/aft balance, and are controlled from a light switch at the room entrance.

As the title of this post suggests, I’m also trying out a name for the layout: Bydemill.
This layout is heavily influenced by Highworth: I’ve borrowed the track plan, although bent the layout back on itself so keep the prototype’s long continuous arc confined to my shelf. But I’m not modelling Highworth faithfully, so I’m reluctant to call it such.
However, In reading through some websites about Highworth that my friend Simon Dunkley shared with me, I found several references to Bydemill. For example, there’s a Bydemill Brook which feeds into the Thames water system, and a Bydemill Farm. But there’s no community with that name. I like the sound of the name (I’m pronouncing it “Bide-mill”, not “By-de-mill”) and since I don’t have to commit to anything until it’s time to add signs to the station, I’ll live with Bydemill for now and see how it fits.
Next steps include carving and painting the foam, painting a backdrop, and instaling the layout fascia and valance. I must also build the staging area, which will be removable when not in use so I can store it below the layout. But for now, I’m enjoying pleasant operating sessions of 45 minutes or so, in a well-lit environment and with no fear of losing a train over the edge.
Terrific progress, indeed!
