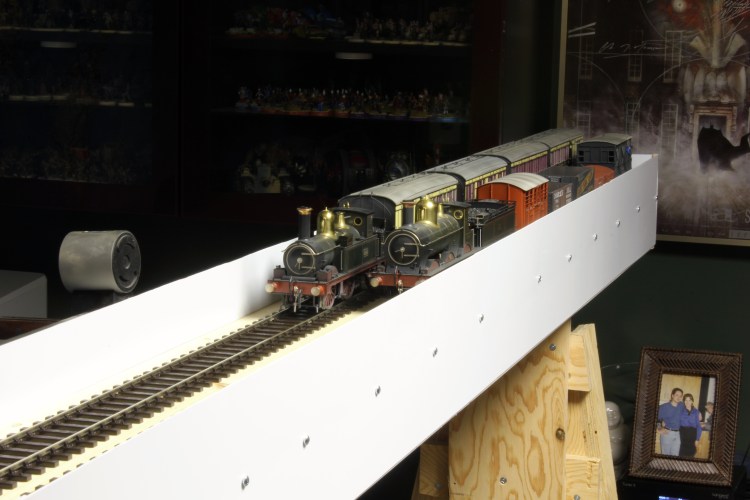
I had a break last week as my American clients disappeared for their Thanksgiving holiday and I took advantage of the downtime to expand my 7mm Great Western Railway layout beyond Bydemill by building a two track, removable staging area. This doubles the number of trains I can run in a session without reorganizing consists, and allows trains to enter and exit the scene to give one a sense of going somewhere.
I started by cutting a seven-inch wide strip out of an eight-foot-long shelf. This provided enough width for two tracks, and enough length for good-sized trains (In fact, longer than I’m likely to run.)
I framed this with 1×3 lumber, laid the track (PECO flex, plus a PECO wye turnout), and then wrapped the shelf in 0.060″ thick styrene sheet screwed into the framing. (This is quite high on purpose, to keep trains from going over the side if they’re derailed or the staging shelf is bumped. Since it gets in the way of coupling up equipment, I am building trains on the layout then backing them into staging before a session begins.)
To support the far end, I built an A-shaped leg assembly. It’s secured to the shelf with a furniture bolt and T-nut, and has screw-type levelling feet.

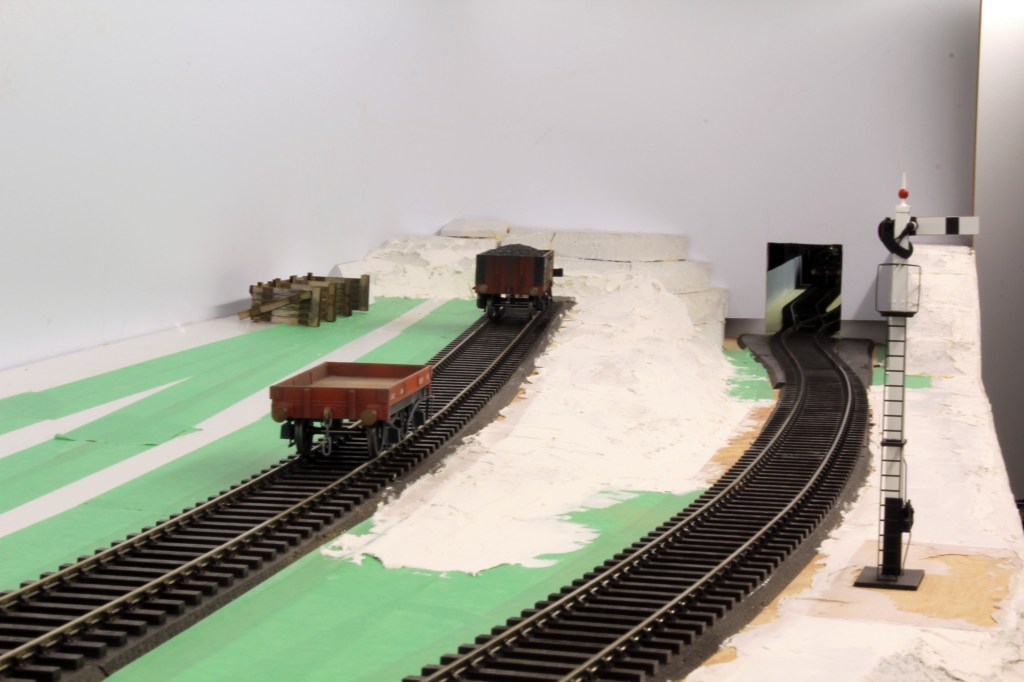
Where the staging shelf meets the layout, I built a pocket to accept the shelf – which is secured to the layout via two more furniture bolts. I cut a tunnel in the end of the layout and then designed a portcullis to close off the hole when the staging area is not in place.


Track and switch motor power is passed to the staging extension via a home-made, four-wire cable fitted with Anderson Power Poles.
When I’m not hosting an operating session, the staging extension can sit on the low bookcases under the layout, with the A-shaped leg leaning out of the way against the layout end.
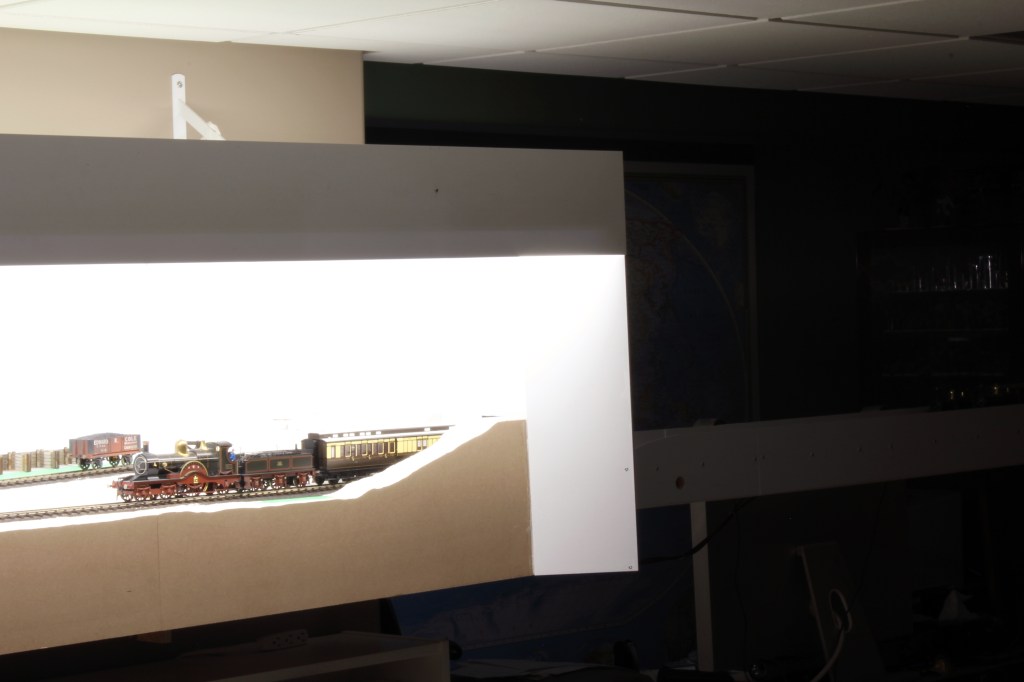
I’m pleased that with the room lights off and the layout lights on, the staging area all but disappears from view.

I’ve already run a few trains and having a place for them to come from and go to makes all the difference. I look forward to hosting more operating sessions now that the line from Bydemill to Swindon is complete!
