
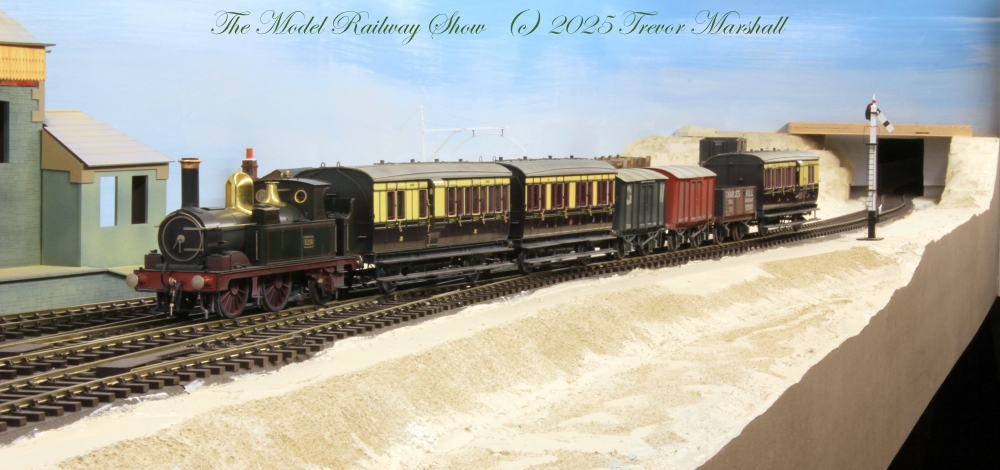
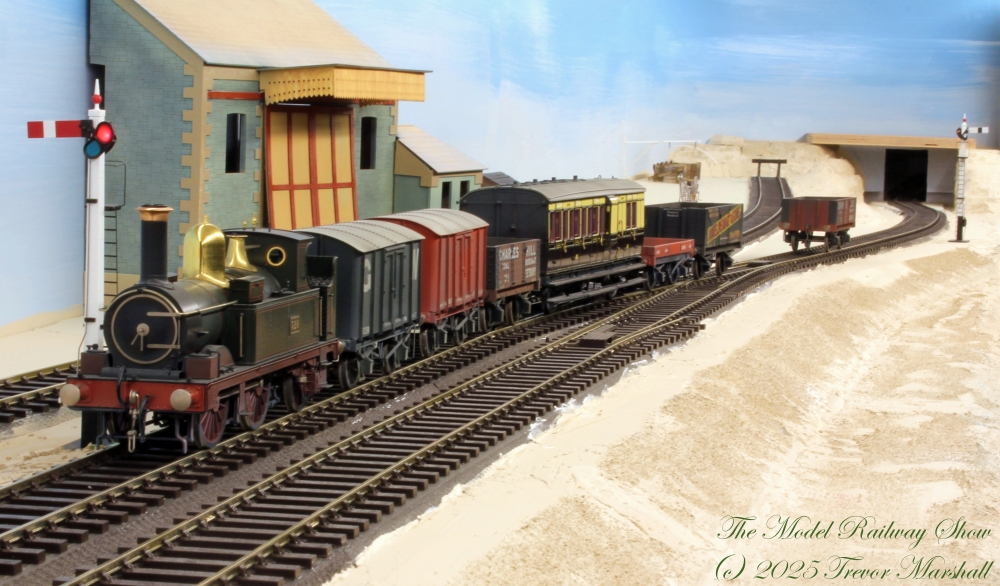
I’ve been testing out various possible trains to include on the schedule for Bydemill – my 7mm scale layout depicting the Great Western Railway in the Edwardian Era. Having explored two passenger trains – a milk run and a school train – I decided it was time to introduce a mixed train to the morning workings.
As the photos will illustrate, there’s a lot of work to do…
At this point, I ran into a problem:

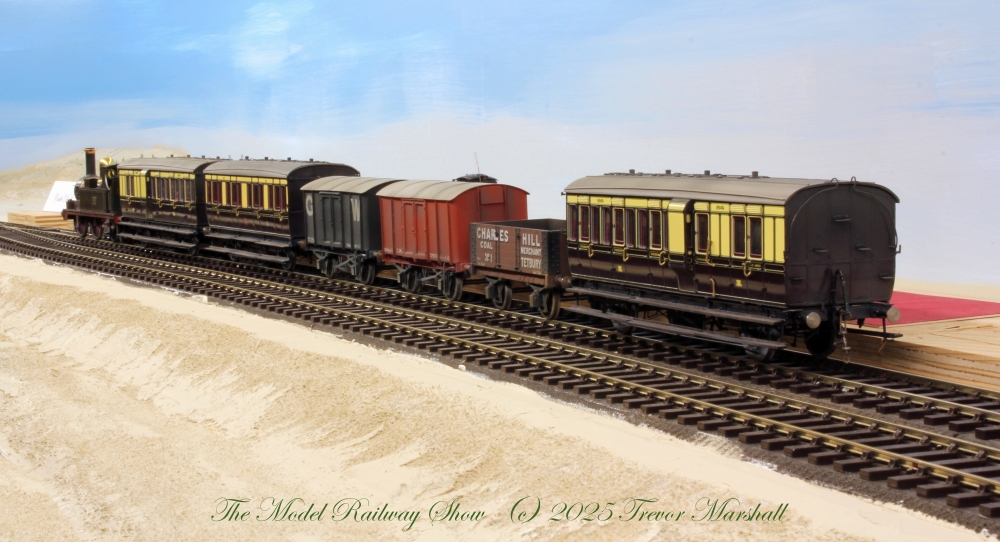
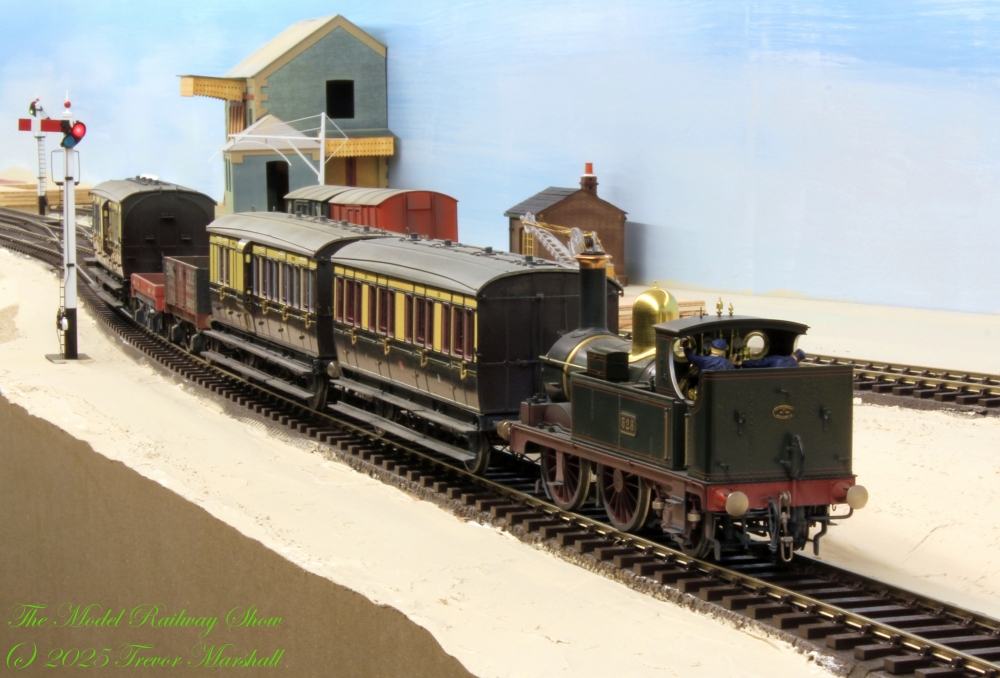
I thought I’d back the whole train into the goods yard to collect the three wagons there. But this train was too much for my little 517 Class.
The culprit was a combination of an ascending grade in the goods yard, and the weight/rolling characteristics of my coaches and wagons. (They generally roll “well enough” for the short trains I’m running, but there’s enough resistance that they’ll sit on a grade without rolling. This is the first time I’ve encountered this issue.)
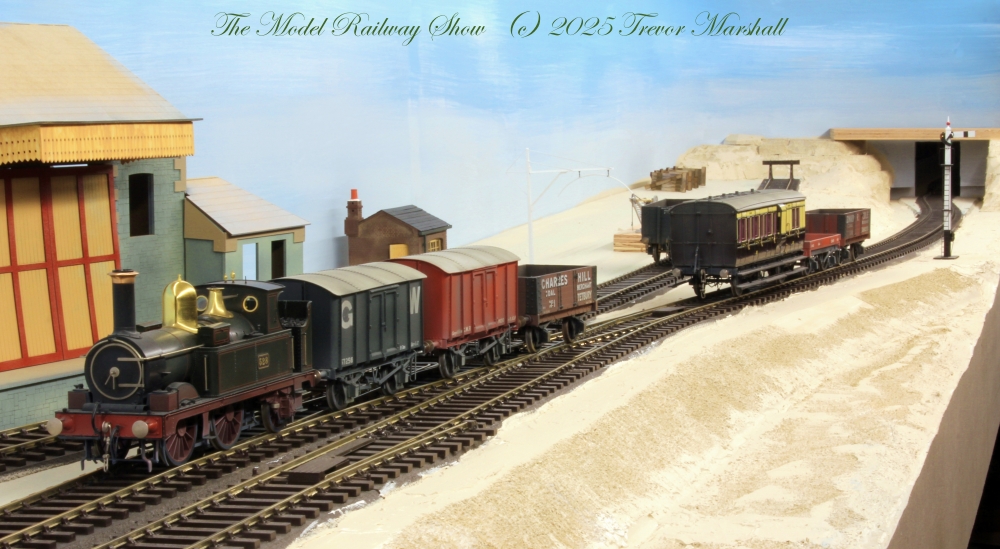
There are two solutions to this. First, I can try a larger locomotive on the mixed train. My Dean Goods has more pulling power. Second – and what I did while shooting these photos – I reduced the cut of wagons I needed to shove up the grade.
I reset to the station stop and continued…


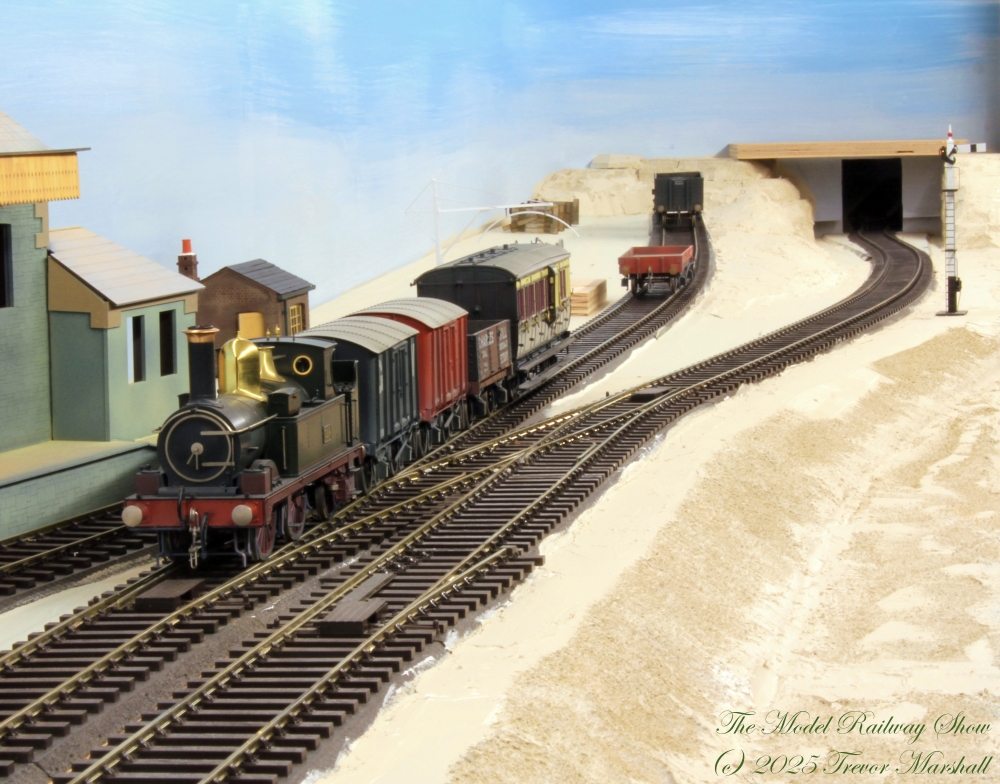


Here, again, I ran into a problem: The black coal wagon with the yellow stripe needed to be re-spotted while the brown coal wagon was ready to lift. I also needed to spot the three inbound wagons. This required a lot of back-and-forth work to re-order the train – which is fun, but consumed a lot of time…
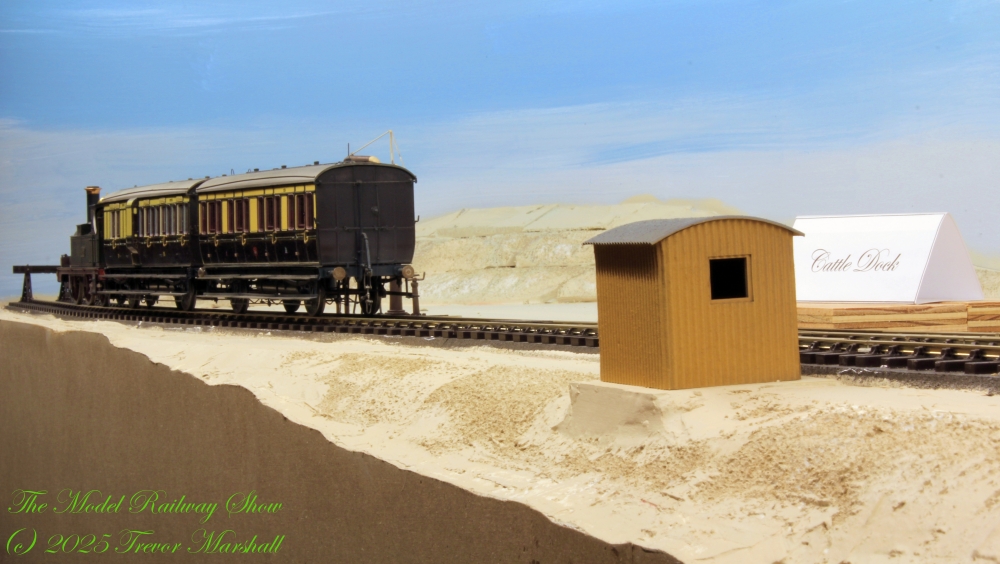
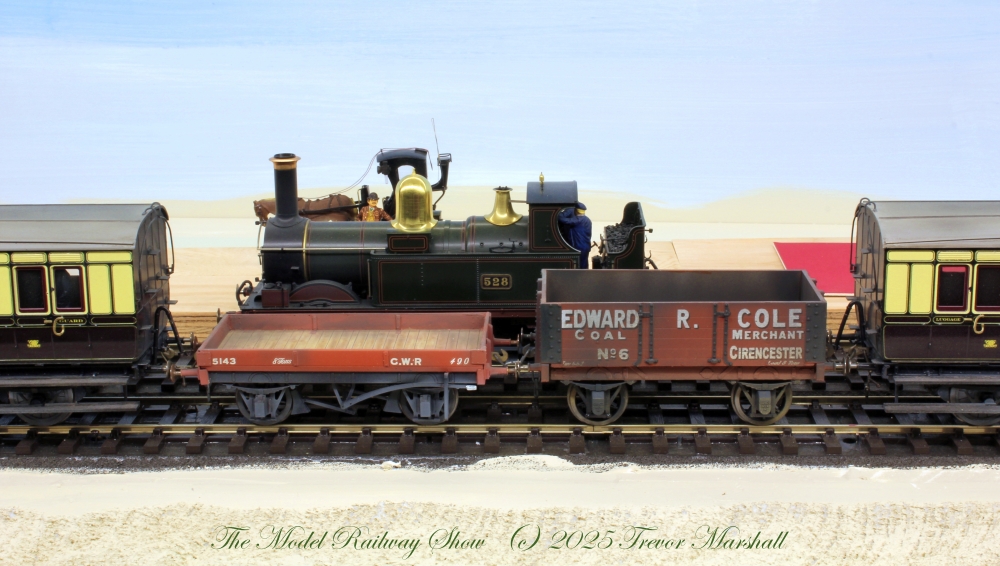
Leaving a wagon on the main here is only allowable because the Bydemill branch uses a staff system that allows only one train on the branch at any time, so another train isn’t going to arrive and run into the wagon.


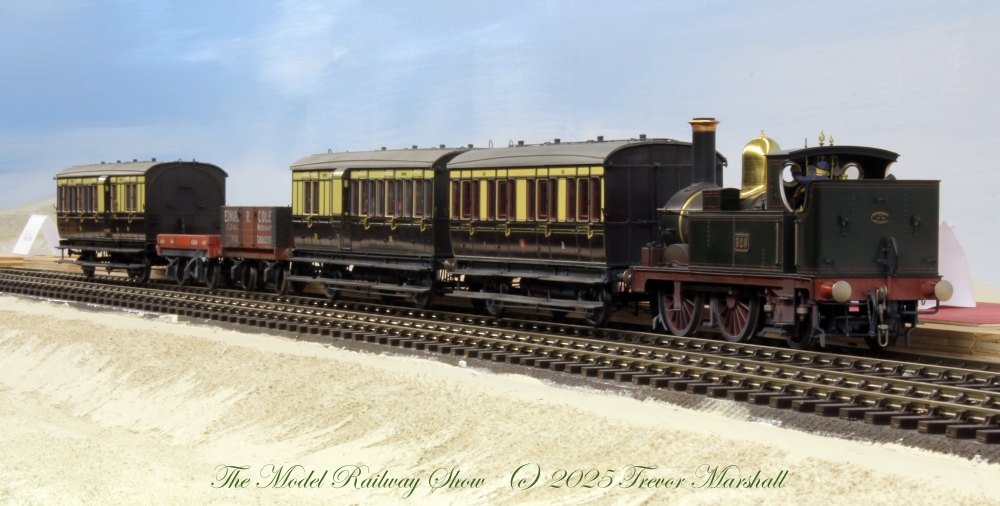
I think this business consumed too much time for a branch line passenger train which has a schedule to keep. This work would be more appropriate for a dedicated goods train, run during an early afternoon lull between passenger workings. Regardless, the crew continues its work…


As noted, I need to experiment more with mixed trains.
First, I’ll try my Dean Goods on as power.
Second, I’ll likely add a few rules to the mixed train operations. Forexample:
- Only lift wagons ahead of any wagon that needs to be re-spotted.
- Only use a single, backing move to set out wagons. Any wagons that are off-spot (for example, those that must go to the goods shed, which is on a switchback spur) should be left for the early afternoon dedicated goods train to place in the proper position.
This was definitely an interesting exercise and I look forward to experimenting with more mixed trains until I get it right.
(There will eventually be a number of posts about the trains on the Bydemill schedule. You can find all of them in the Bydemill Operations category.)
