In sharing my thoughts on the schedule for Bydemill– my 7mm scale Edwardian Era Great Western Railway layout – I’ve focussed so far on passenger workings. Now it’s time to tackle a goods train. This train will run during the mid-day lull because it will need more time to do its work. Let’s get into it…
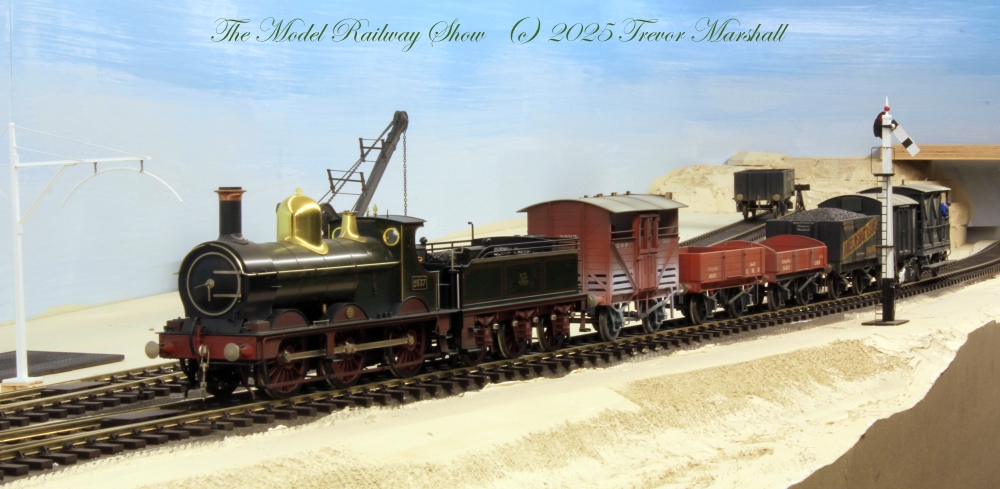
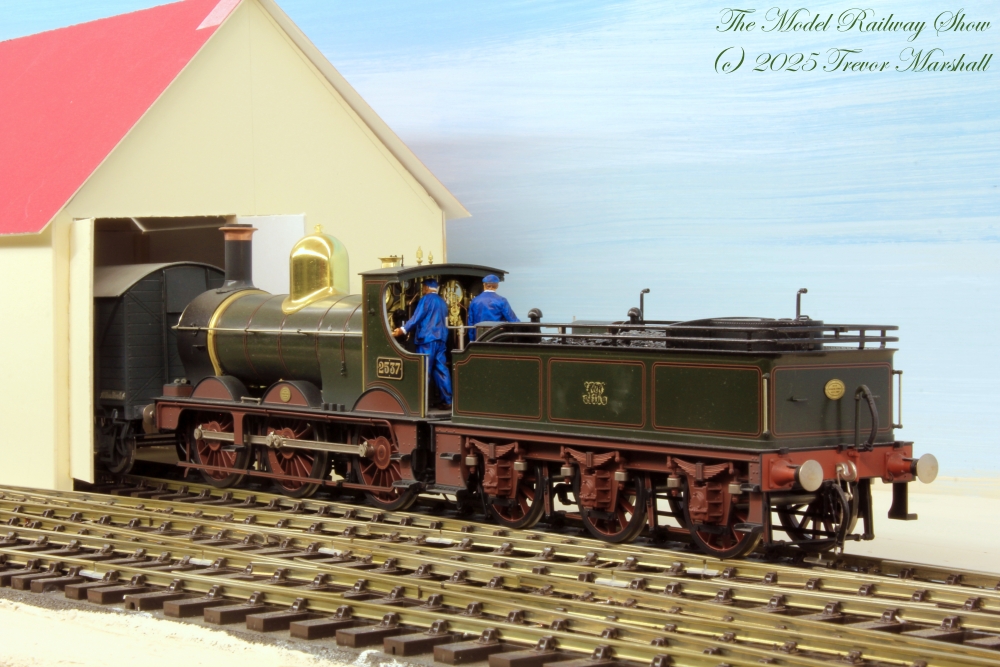
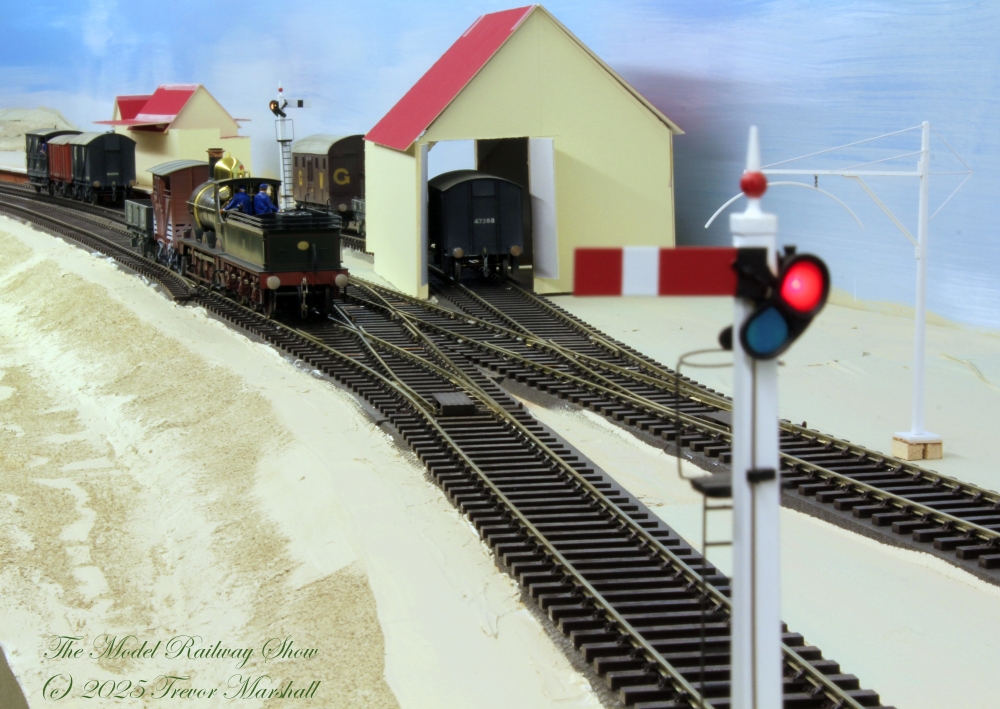
The goods train passes the home signal as it arrives from Swindon with five wagons and a brake van in tow.
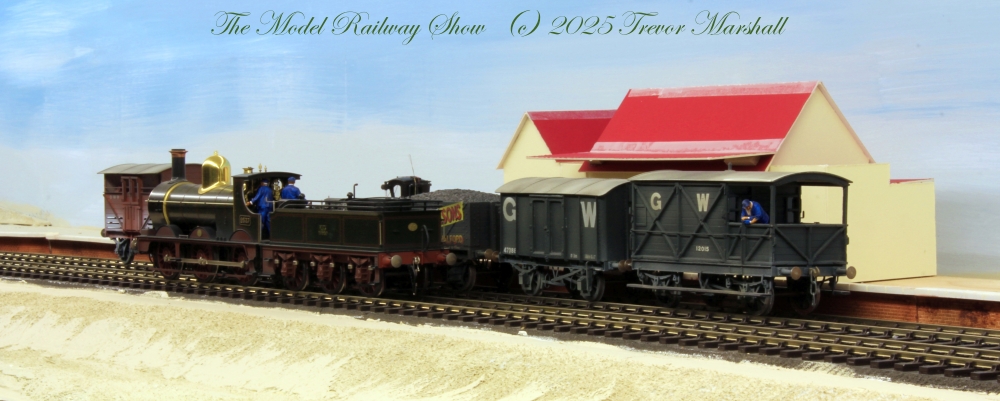
The train pulls up to the station platform at Bydemill. The crew will confer with the goods clerk to determine the work to be done – with the signalman (this is 1905 so there’s no gender-neutral term) listening in so everyone is on the same page. The cattle truck on the head end is loaded, so that will have to be dealt with first.
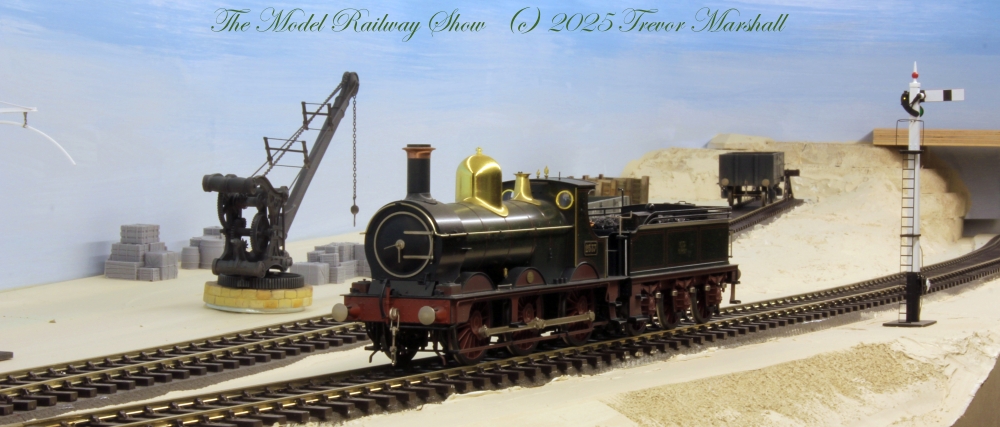
The crew uncouples and pulls its Dean Goods ahead to the water crane to top up the tender.
Will a full tank, the crew runs up the loop track past its consist.
On the main track again, the crew whistles for the station throat to be thrown for the platform.
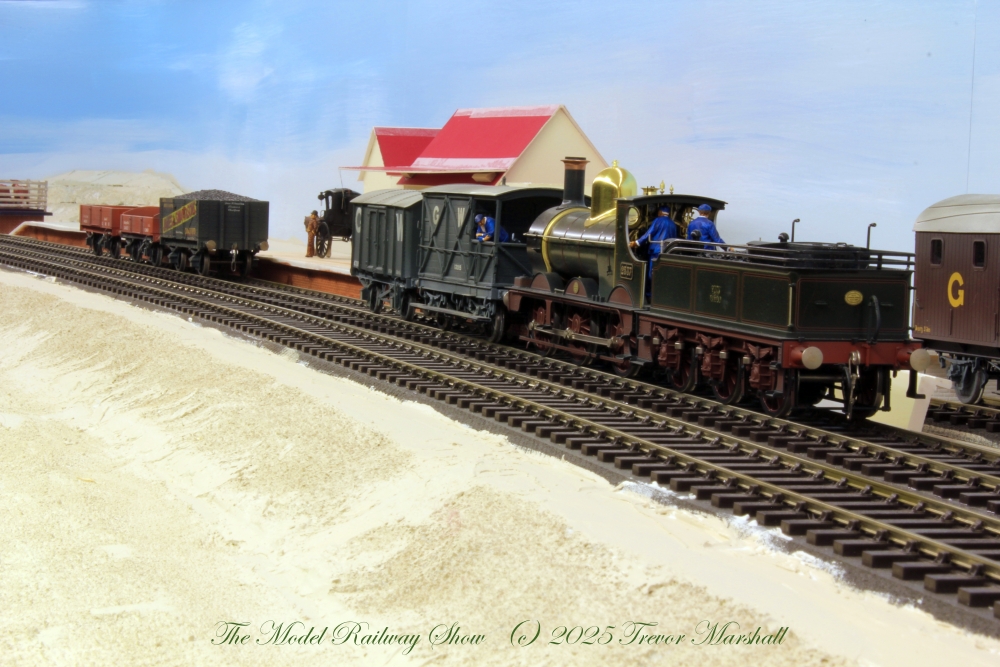
The run-around complete, the crew shoves its train ahead.
The cattle truck is spotted at the dock. For some reason, the cattle dock was located right at the loop switch at Highworth, the prototype location upon which Bydemill is based. This creates considerable complications when shunting.
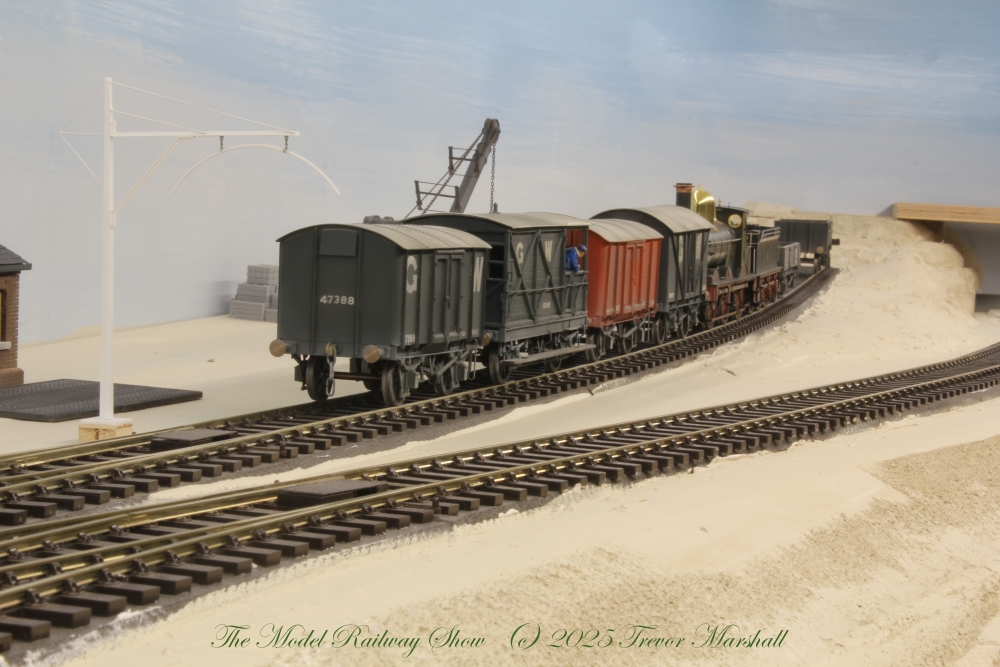
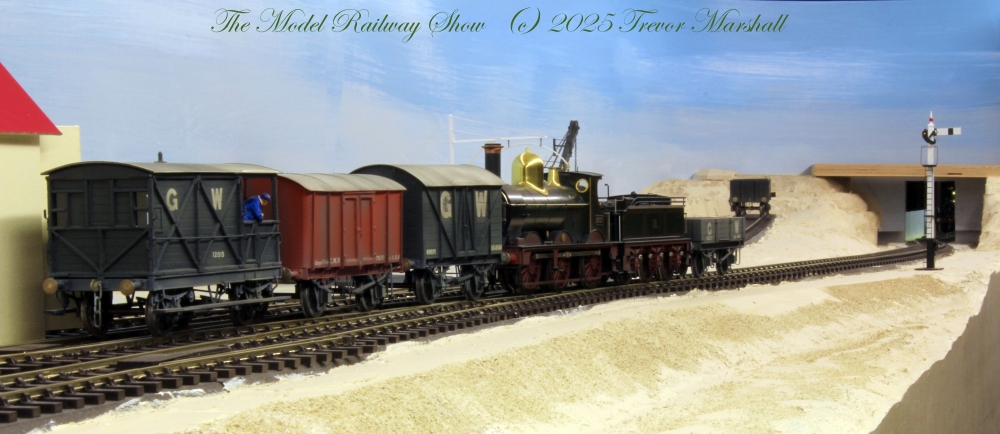
The crew pulls the rest of the wagons back onto the platform road and drops the two opens and a private owner coal wagon destined for the goods yard. (Later in this ops session, I would discover I could’ve left these attached to the cattle truck – but that’s fine.) The “Iron Mink” van is headed to the goods shed.
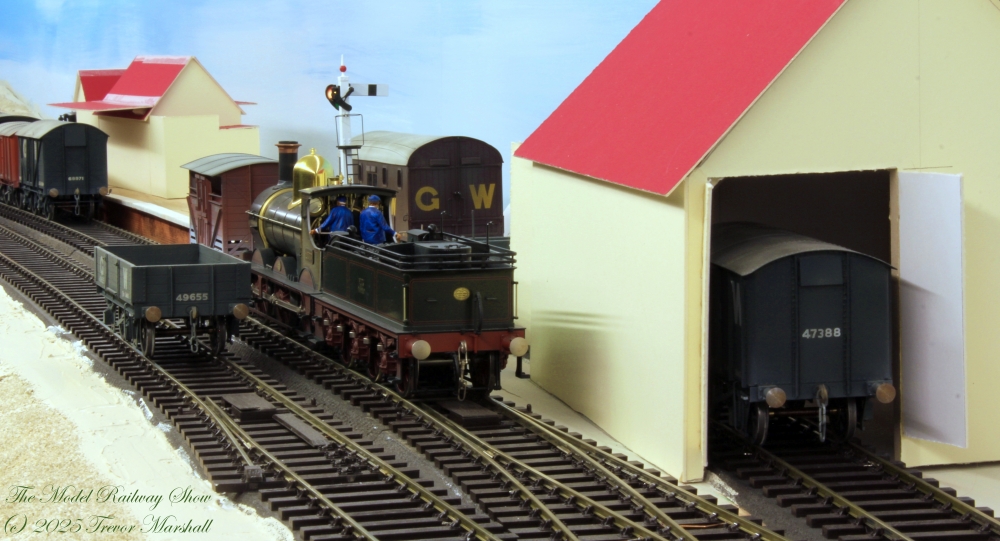
The Iron Mink and brake van are dropped at the station throat and the locomotive backs into the goods yard (also known on the GWR as a Mileage Siding), clear of the switch for the shed.
The locomotive creeps up to the van in the goods shed.
The crew lifts two vans from the goods shed and backs clear of the switch. A whistle lets the signalman know to throw the switches for the platform track. Meantime, the crew couples up to the open wagon in the yard, which is also heading back to Swindon.
The crew shoves ahead to collect the brake van and Iron Mink off the platform track…
… then backs into the goods yard…
… and, after the switch is thrown, shoves ahead to drop the Iron Mink in the shed…
… then returns to the platform track. Note the brake van and two goods wagons are in the proper order for the outbound train.
Before the rest of the work can be addressed, the cattle truck must be cleared off the loop switch. The crew decides to attach it to the front of the outbound train, which means clearing the platform track. So the crew backs onto the main track…
… then propels the outbound consist onto the loop track.
Back on the platform track, the Dean Goods runs past its outbound consist…
… and collects the cattle truck. (As noted, I didn’t need to uncouple the rake of wagons headed for the mileage siding. Oh well.)
The crew hauls the wagons up the platform track and onto the main…
… shoves ahead to collect the outbound goods wagons and brake van…
… then propels the train into the tail track. The outbound wagons will be left here.
The traffic for the goods yard is hauled back up the loop to the main track…
… then propelled onto the platform track again.
The crew needs to run-around the goods yard wagons, so it’s back into the loop. Note the outbound open wagon from the goods yard has been dropped in the loop, clear of the catch point, and the point has been opened to prevent it from rolling onto the main track.
Once again in the tail track, the crew couples up to its outbound train…
… and hauls it into the platform track. The wagons for the mileage siding are now on the right end of the locomotive to be propelled into position.
The crew shoves the wagons through the station throat.
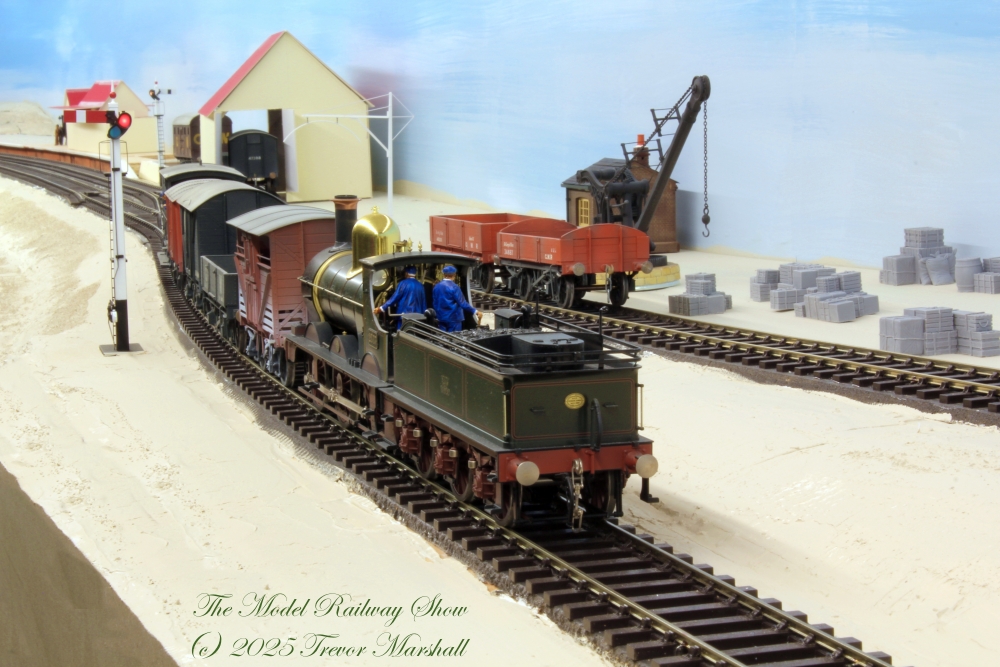
The inbound coal wagon is coupled up to another private owner wagon still being unloaded at end of track. The two open wagons for general merchandise are spotted near the yard crane. The locomotive heads back to the platform track.
The work is almost done, but there’s still an outbound open wagon in the loop track to collect. The crew decides to put it behind the cattle truck, so that wagon is collected.
Once more through the station throat and onto the main track.
With a whistle from the locomotive, the signalman throws the switches and closes the catch point. The crew shoves into the loop to collect the open.
Wagons in tow, the crew backs onto the main…
… then shoves forward to the platform track. The outbound train is ready for departure and the starter signal is given.
Its work done, the crew departs Bydemill for Swindon.
This was a really fun and challenging train to work. Everybody loves shunting (or, “switching” in North American terms) and this certainly satisfies.
As the above sequence shows, the cattle dock’s location – right at the switch for the far end of the loop – complicates shunting. A train with no wagons for the dock would be much easier to work, so I can adjust the length of operating session I want to enjoy just by adding or subtracting a cattle truck from the consist.
One goods train on the schedule, plus the mixed train I shared previously, will provide plenty of shunting work. That said, I think a seasonal, dedicated train of cattle trucks to serve Bydemill’s livestock market would be an interesting operation, so I’ll explore that in a future post.
There’s also the need to return all those milk siphons to Bydemill after the morning milk run and the kids on the morning trip to school probably need to come home too – so I’ll address those in future posts as well.
(There will eventually be a number of posts about the trains on the Bydemill schedule. You can find all of them in the Bydemill Operations category.)
Lifelong model railway enthusiast and retired amateur shepherd who trained a border collie to work sheep. Professional writer and editor, with some podcasting and Internet TV presenting work thrown in for good measure.
View more posts