
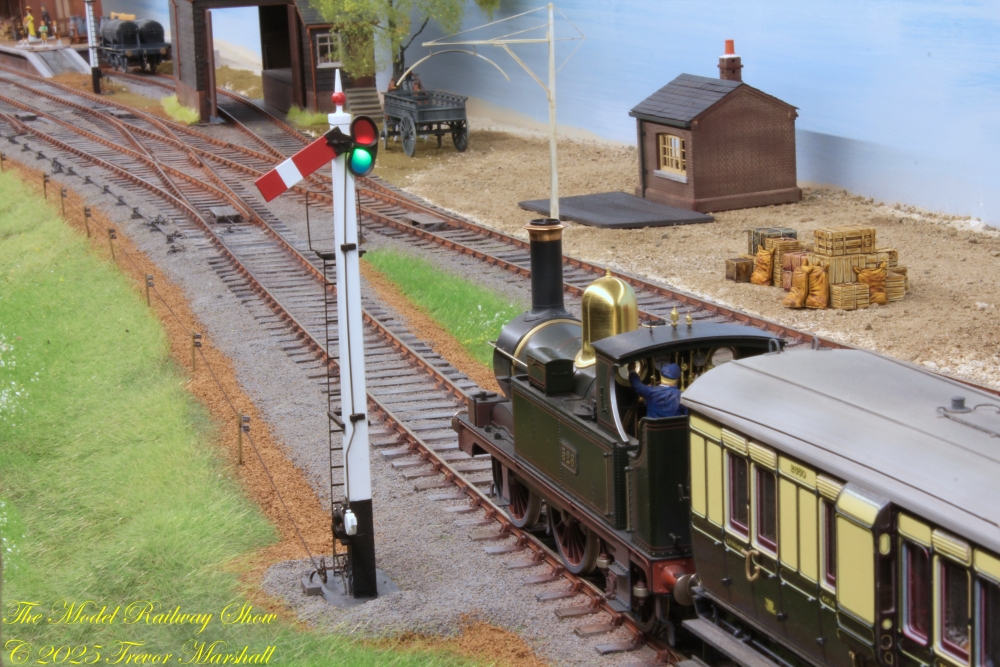
I continue to work on details for Bydemill – my 7mm scale, Edwardian era, Great Western Railway layout. After an intense few days earlier this month to prep and install point rodding, I finished up the signal box hardware by completing the lead-off board and adding the pulleys, cables, and posts that would’ve operated the home and starter signals.
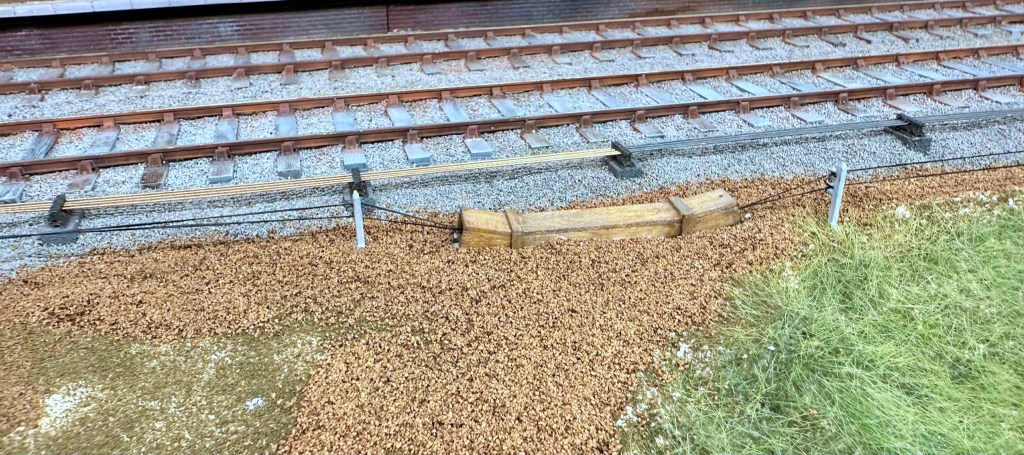
I ordered some photoetched pulleys and cast brass signal wire posts from Wizard Models in the UK and they arrived a few days later. I prepped the pieces by spraying them with grey primer, then got to work installing them. The posts include a handy page of instructions that includes information on spacing them correctly. I added cables using black EZ Line, with short lengths of fine chain added at the pulleys, per the prototype.
With everything in place, I brush-painted the posts with a wash of pale brown and highlighted the pulley blocks with a black wash.


The lead-off board is the platform in front of the signal box where the point rodding and signal cables emerge from the box then turn to run parallel to the rails.
While I installed most of the point rodding in earlier sessions, I held off finishing the rods at the signal box until I had my signalling hardware. This way, I could get everything reasonably close to lined up correctly. The board includes four angle cranks and two pulleys, all in a tight space.


When planning scenes, I like to think about how people – especially railway staff – would interact with the space. This raised an issue for me: How would signal box staff access the box? They could walk across the tracks near the starter signal, and then walk along the cess between the point rodding and the signal lines – but they would have to climb over the signal lines to reach the stairs.
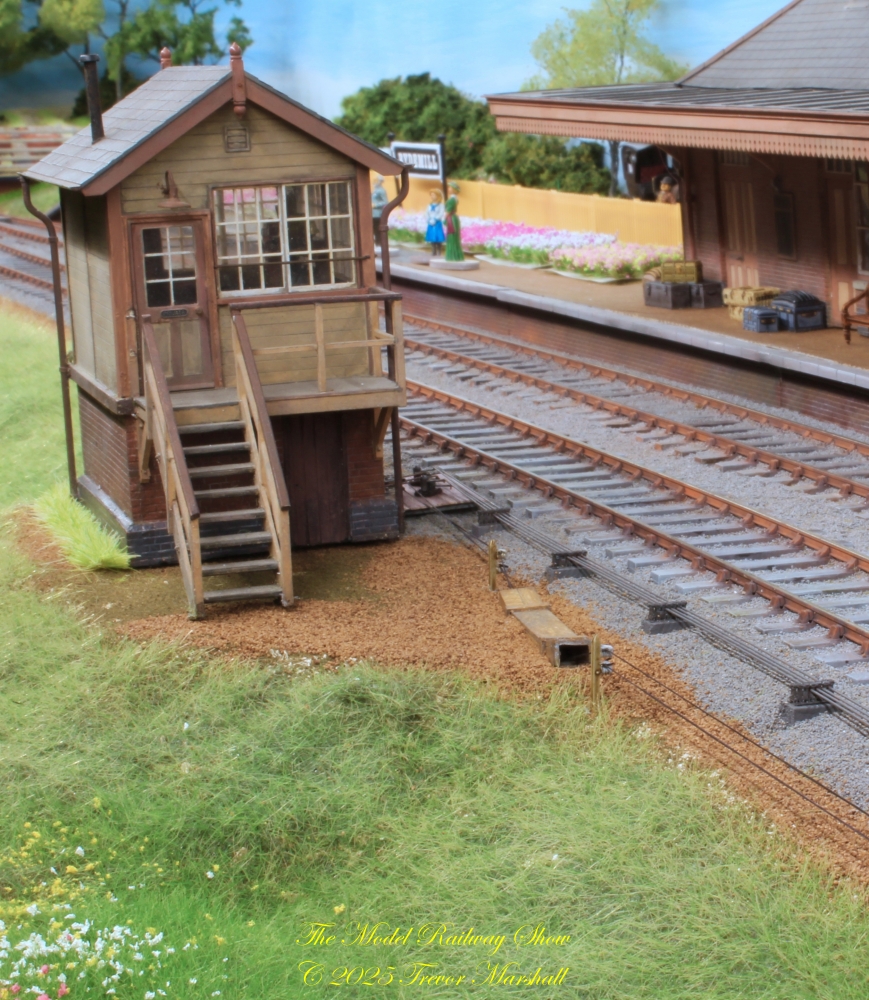
The instructions from Wizard Models included a sketch of a box – a tunnel for the cables that would create safe pathways for railway personnel. (Such boxes were also used under road crossings and foot paths.) There were no measurements provided as each situation would be different, so I simply built one up to dimensions that looked right. I dug out a trench for it, glued it in place, and buried it with cess material.
Adding point rodding and signal cables was – frankly – a fiddly project and I worried about the robustness of the parts. That said, it’s a subtle detail that makes a real difference to the scene. It helps explain the role of the signal box – and in planning these details, I learned a lot about how the prototype installations were designed.
I’m glad I took the time and made the effort.
