
September 1, 2025 12:26 pm
I recently decided to upgrade the controls for the signal box at Bydemill – my 7mm scale, Edwardian era GWR layout.
When I first wired up the layout, I used a bank of slide switches set into the fascia.

These have worked fine over the past year – but they didn’t feel right. Also, I realized by replacing my single pole slide switches with double pole toggles, I could wire in some rudimentary interlocking functions to enhance operations.
I ordered a pack of DPDT toggles and mounted them on some spare black styrene sheet. I then drew up a crude wiring diagram, then translated it into crude wiring.

The resulting lever frame isn’t fully interlocked, but it does replicate some of the locking.
For example, to clear a train into the terminal, the operator must first ensure the switch points in the station throat are lined for the platform track (Lever 2). Then, they must engage the appropriate facing point lock (Lever 4). This shuts off power to the points and turns on power to the Home Signal, so it can be cleared (Lever 6).
The levers must be thrown in reverse order to restore everything, so the switch points can once again be operated.
Similar operations must be performed to set the Starter Signal to allow a train to depart – using Levers 2, 3, and 1.
The catch point on the loop must also be open (to derail wagons) before the station throat switch points can be operated.
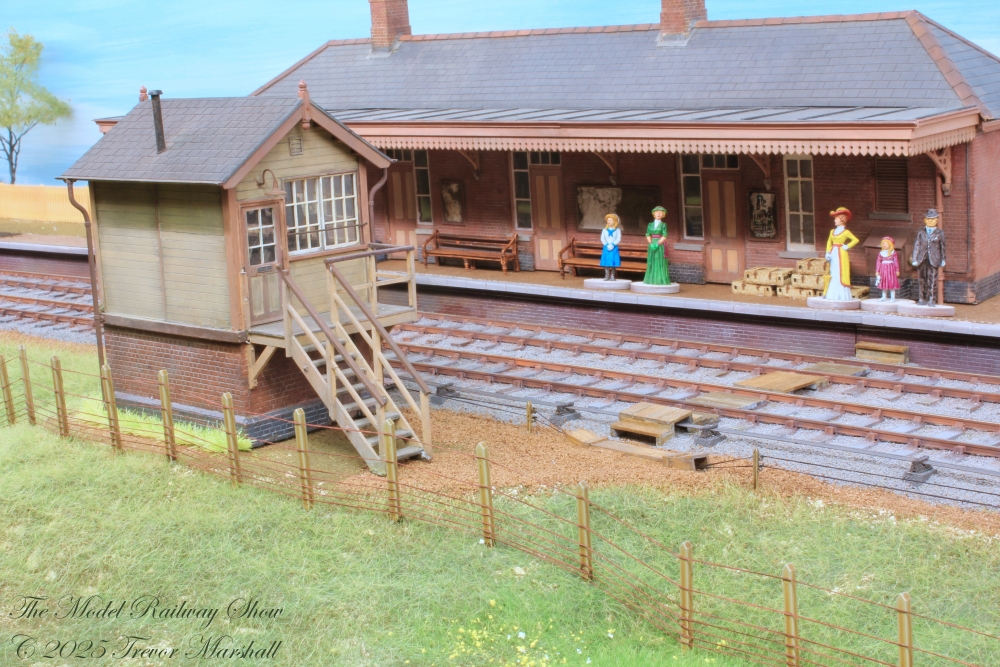
As the lead photo shows, I mounted the new lever frame on a couple of wood brackets, screwed into the fascia from the back. I also added a panel with crib notes for visiting crews.

While it’s not a full interlocking – for example, it’s possible to shut off power to switch points or signals while they’re in the wrong position – it’s better than it was.
While I had the tools and supplies out, I also upgraded the non-interlocked ground frame at the far end of the loop. The wiring is straightforward here, with the toggles acting exactly as the SPDT switches they replaced.

Ultimately, these will be replaced with lever frames built using the same kits I used for the Niagara Street Tower on my S scale Niagara St. Catharines & Toronto Railway layout. My friend Mark is handy with machines and has offered to build full interlocking into these lever frames.
I look forward to the next upgrade. But in the meantime, I have a better – if temporary – solution.
Posted by Trevor
Categories: Bydemill operations, Great Western Railway in 7mm scale, GWR Bydemill (Highworth), Layouts I have designed or built
Tags:
Mobile Site | Full Site
Get a free blog at WordPress.com Theme: WordPress Mobile Edition by Alex King.