It snowed this week, out here on the Canadian Prairies. Mother Nature teased us with a taste of Spring, only to throw 6″ (15cm) of the white stuff at us. That made it a good week to hide in the basement workshop – so, after a long break in which I did other things – I returned to the Slater’s Plastikard kit for a GWR Full Brake I started in December.
It turns out I didn’t have that much to do, really. I’d finished the frame, which requires the most bending and filing to assemble. Building the body only took a morning session. I started by fitting the duckets (the bump out windows for the guard) and adding door handles and hand holds. I then glued together the sides and ends to form a box, and added a floor.
I was determined to only work on this in the mornings, so I returned to the project the next day. I glued the body to the frame, then fabricated and installed the various end details – including brake fittings and buffers. I also added the wooden steps on their supports.
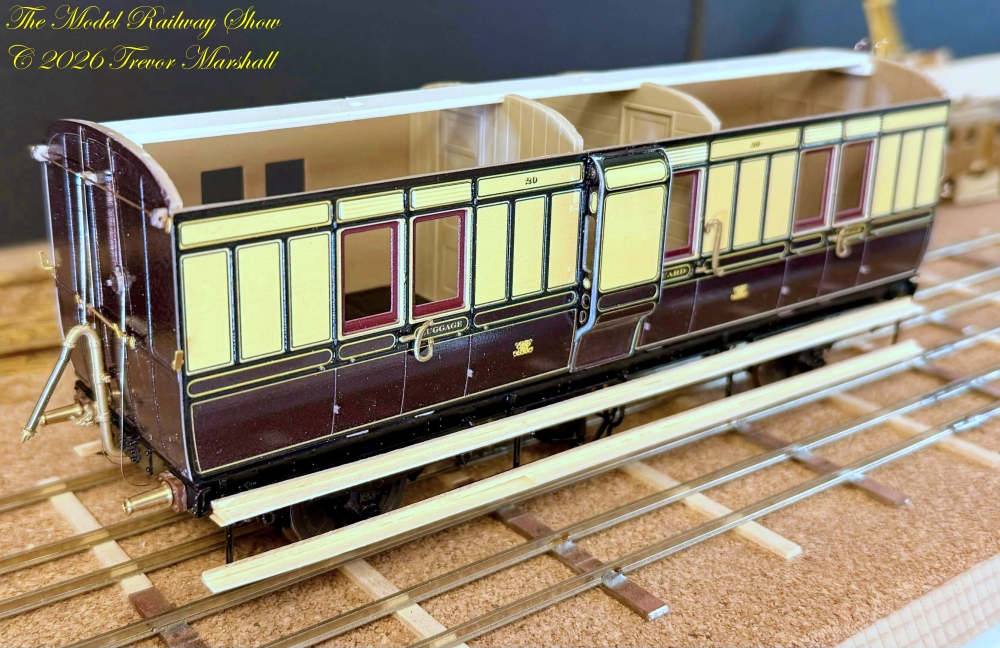
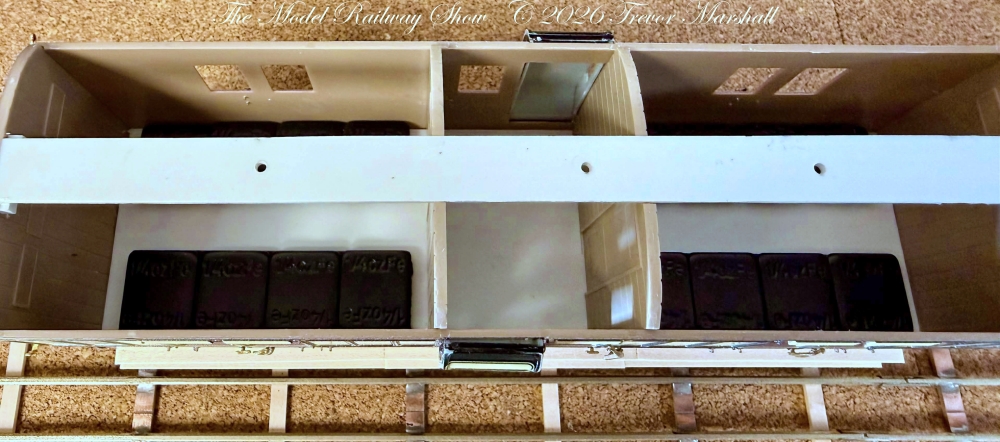
Inside, I added peel-and-stick tire balancing weights to give the vehicle a bit of heft. (On my other passenger cars, the white metal castings for passengers perform that task.)
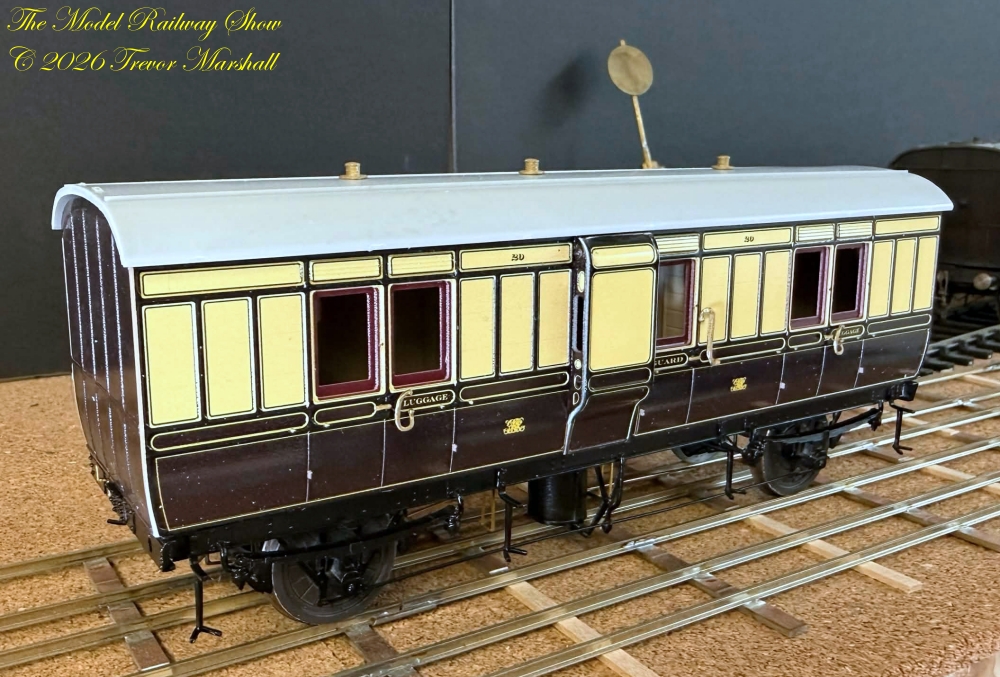
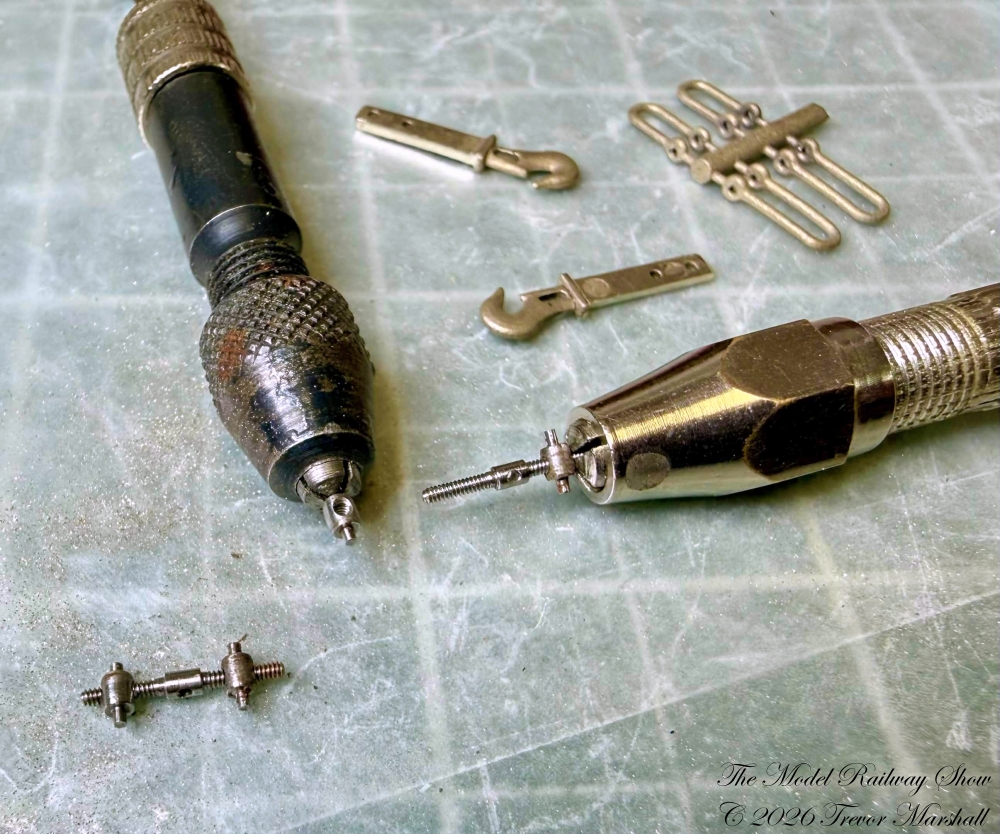
During my next morning work session, I brush painted primer and paint onto the details I’d added. I also touched up the body paint around the duckets and corners (which aren’t completely painted by the manufacturer). I then sprayed clear finish coats on the model. While it dried, I assembled the beautiful screw-link couplings.
I installed couplings and buffers, glazed the windows with microscope slide covers cut to size, and airbrushed the model with some weathering. A quick clean of the windows (using a cotton bud dipped in paint thinner) and it was ready for service.
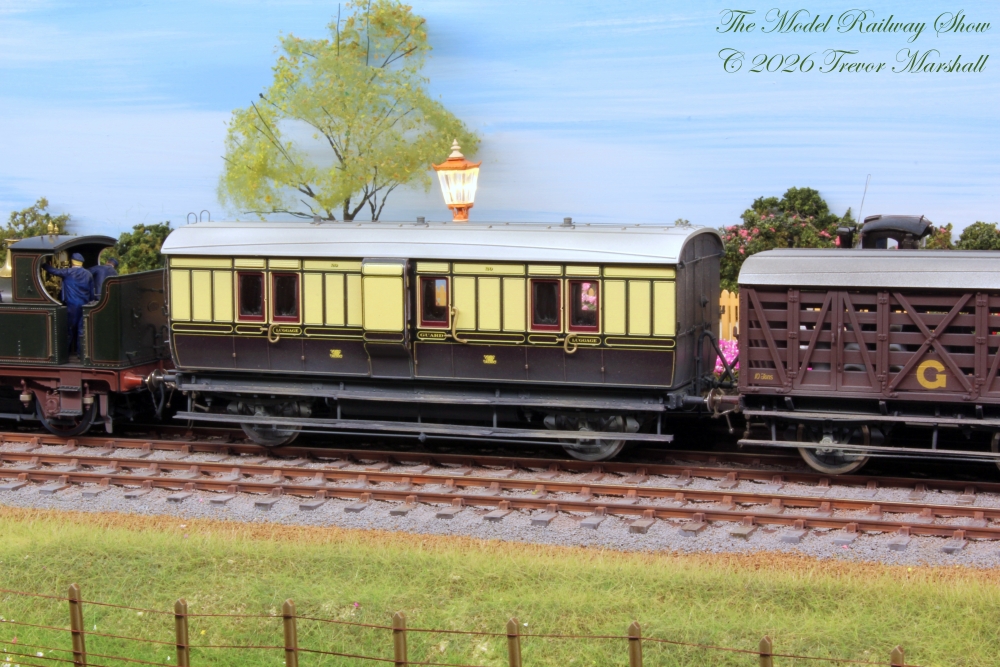
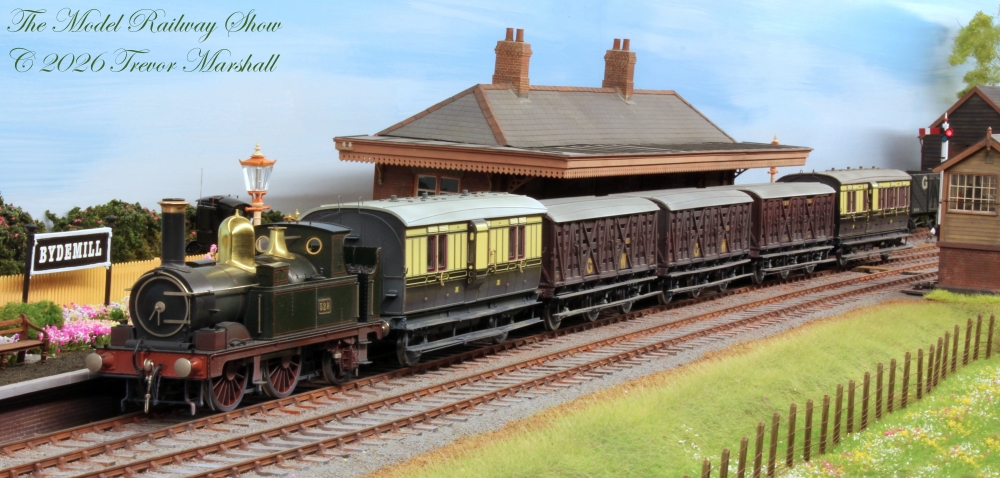
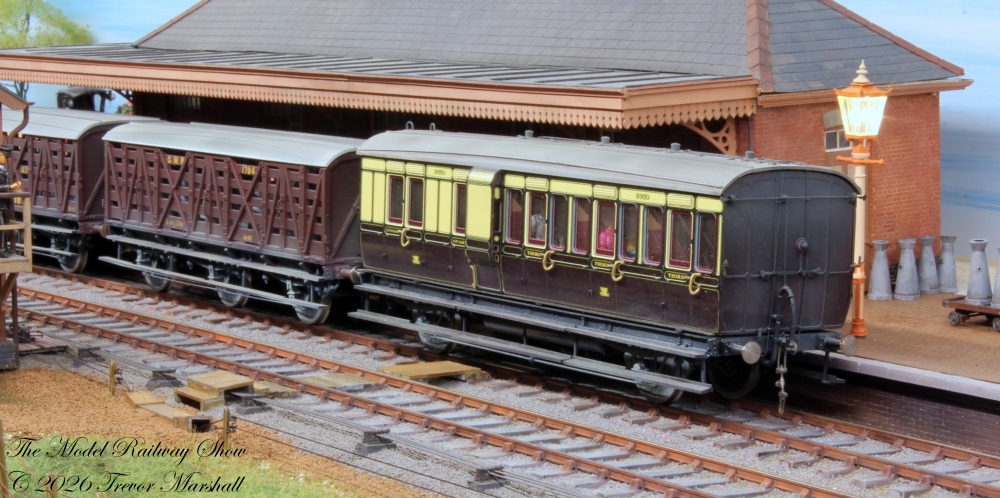
I’ve built five of these Slater’s passenger cars now, and have enjoyed every one. They’re venerable kits – a few decades old – but still stand up against modern offerings. I’d love to add a greater variety of passenger equipment to Bydemill – my 7mm scale interpretation of a Great Western Railway branch line in the Edwardian Era – but that multi-colour, elaborately-lined paint scheme defeats me, so I’m grateful that Slaters offers these kits with prepainted sides and ends.
I love to see a manufacturer step up with more such accessible kits based on other early GWR prototypes.
