Before I invited over friends for the first formal operating session on Bydemill, I made sure the layout was ready to host visitors.
Much of this involved focus on the presentation. I wanted the layout to look good – to convey to my guests where I was headed with it.
But I also wanted it to be functional – so good lighting was essential, as were labels. And I wanted the layout and equipment to be protected from inadvertent mishaps.
As previously noted, I was determined that any derailments would stay on the layout, so the first order of business was to fill the gaps around the subroadbed with foam board.
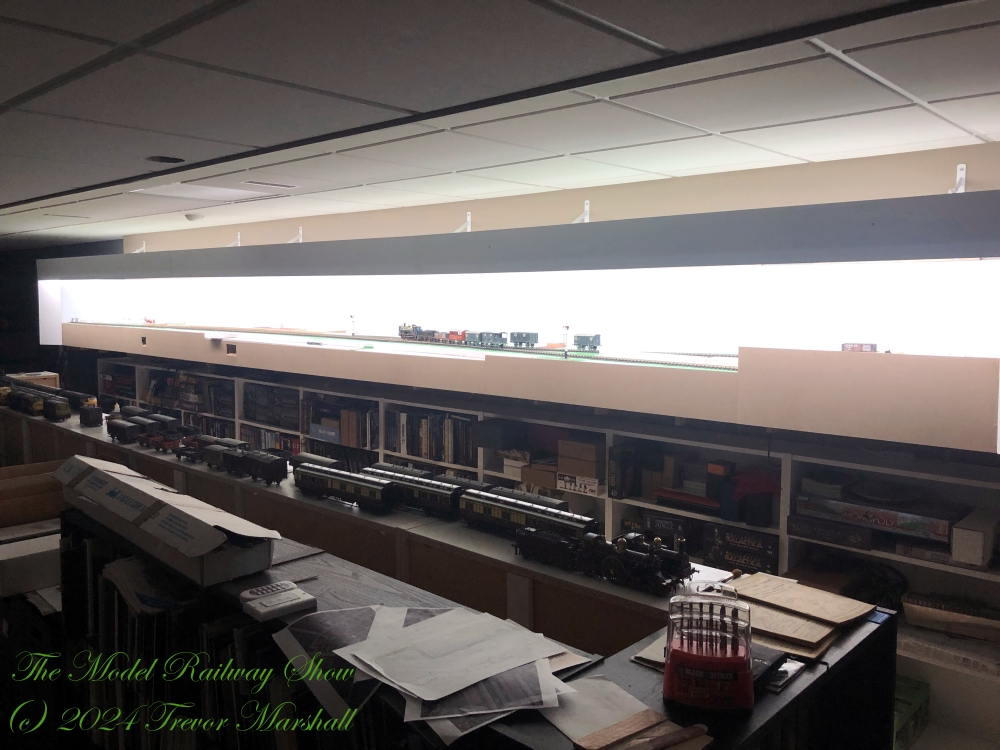
As I prepared the layout for its first ops session, I realized the front edge of the foam – which was unsupported – would suffer if hit by an errant elbow. To prevent this, I added a fascia. I cut rectangles of Masonite and secured them to the wood benchwork with No More Nails. I left the fascia pieces deliberately oversized: I’ll trim them to the contour of the terrain once I’ve carved the foam board into its final shape.
I also added Masonite wings and – to keep the weight down – a valance cut from 0.060″ thick styrene sheet to hide the LED tapes that provide such strong, even lighting.
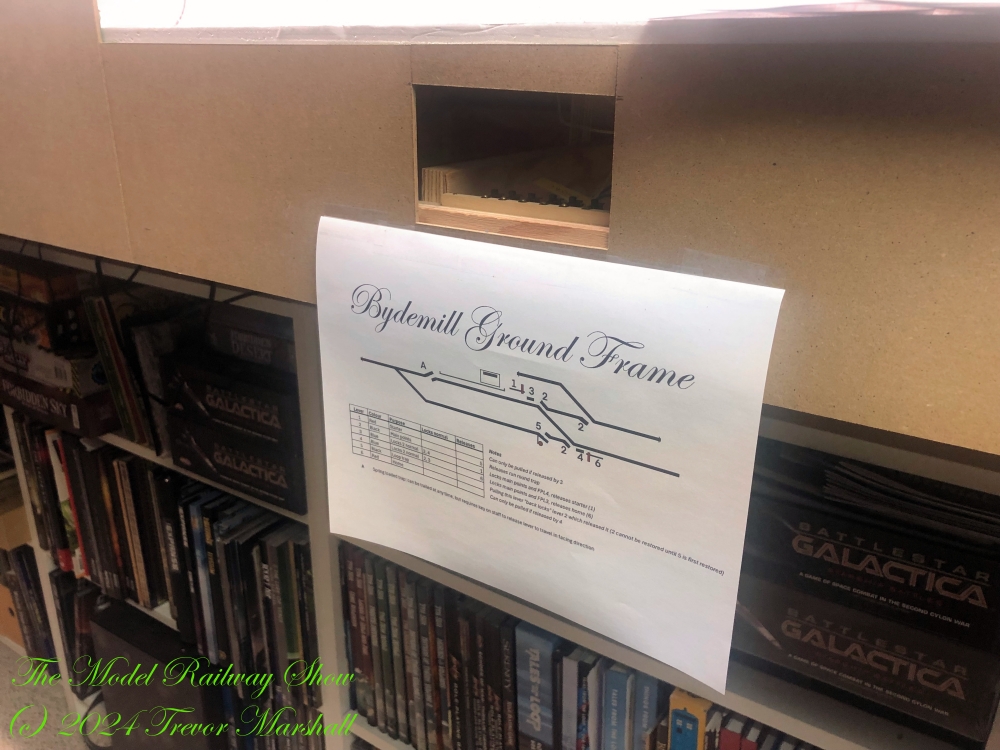
A friend has offered to build an interlocked ground frame to control track switches and signals on this layout. That’s not finished yet, but we settled on having the ground frame act upon slide switches, which would then control switch and signal motors electrically. I have a bank of six slide switches set up and while I know what they do, I also knew they’d be a mystery to my guests. So, I printed out a copy of the ground frame schematic (drawn by my friend Simon Dunkley) and taped it to the fascia below an opening that allows access to the switches.
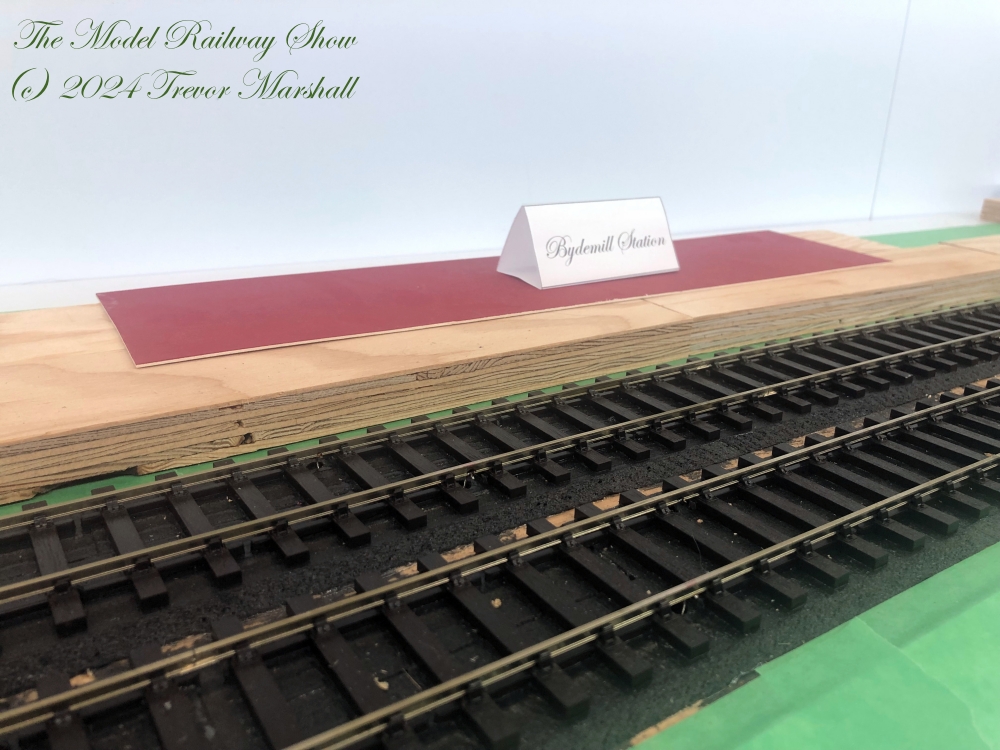
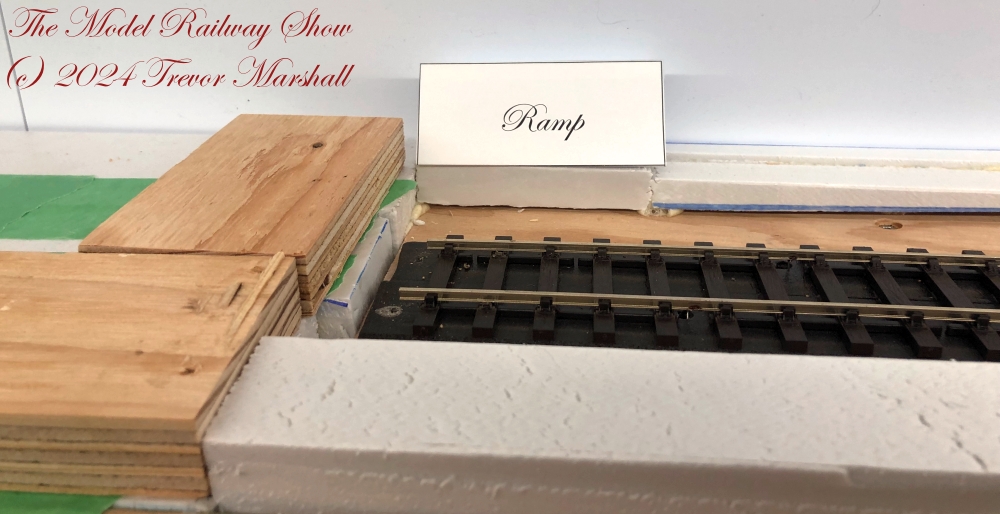
Finally, I used strips of scrap plywood and tent cards to establish the various spotting locations around the layout:
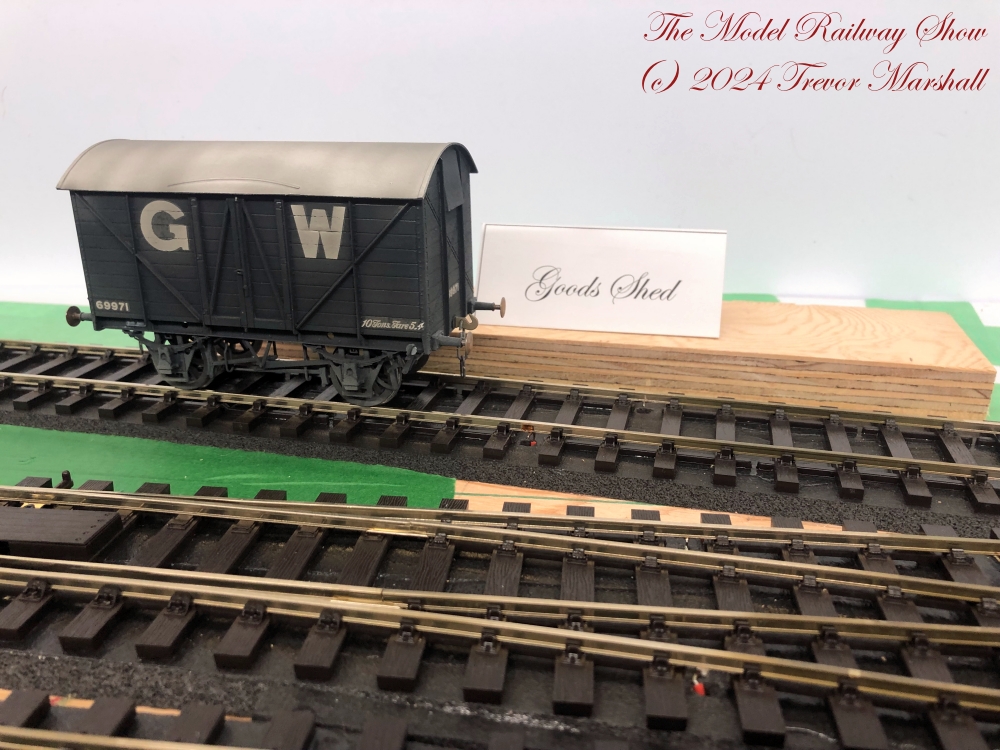
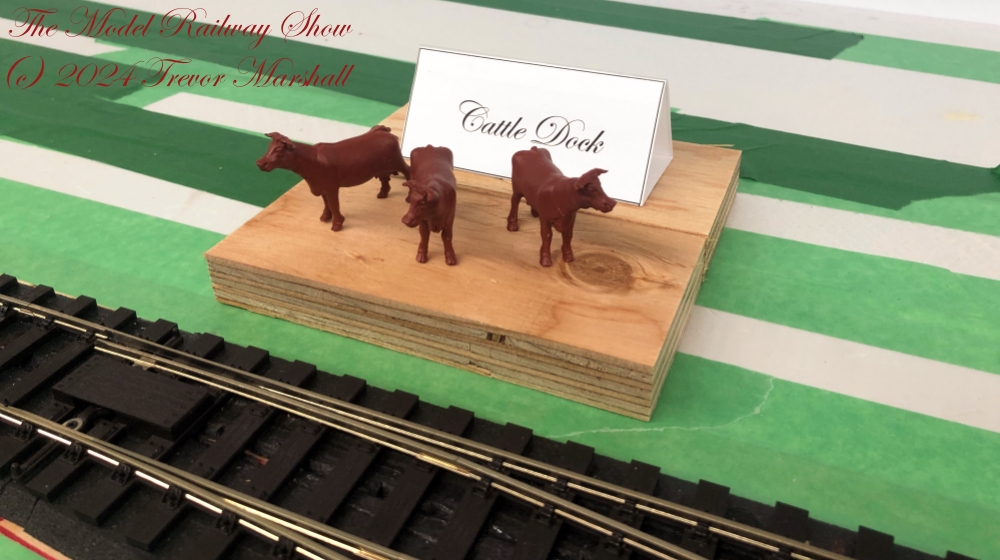
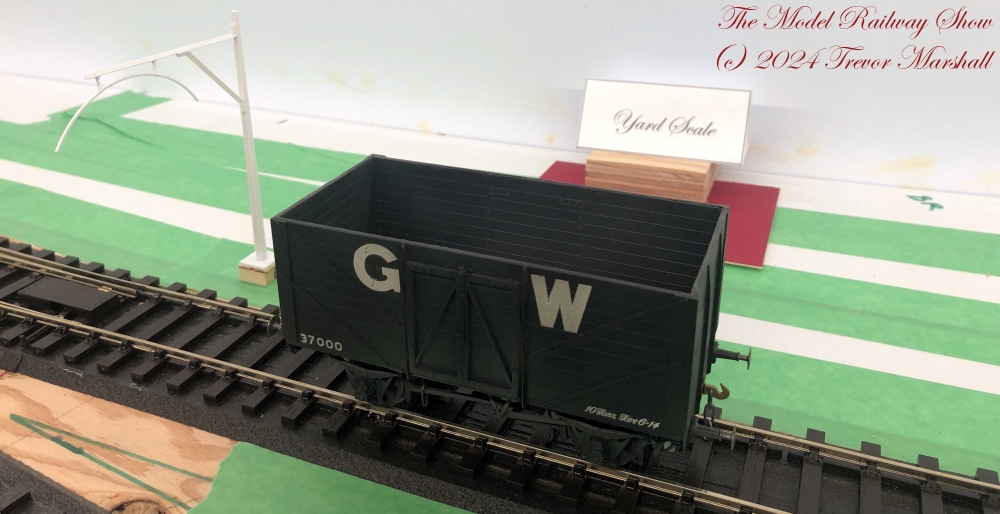
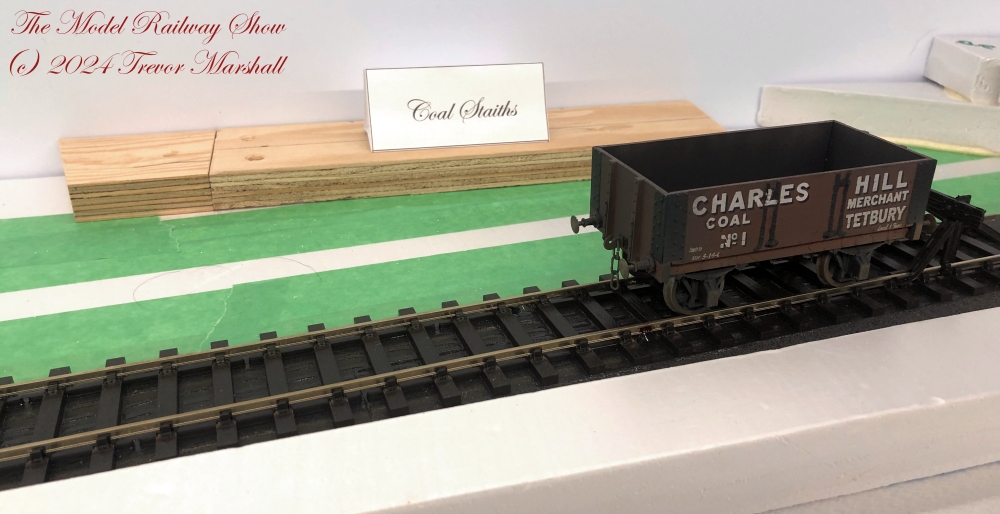
These were quick and easy enhancements that made a huge difference.
